

Working with Crews
In the SkyHunter system, all operations are organized through crews.
A crew is a separate working group of operators that has its own UAVs, targets, and event logs.
In the user dashboard, the user can:
- view the list of available crews;
- create new crews (if they have the appropriate permissions);
- add or remove members;
- manage access to data.
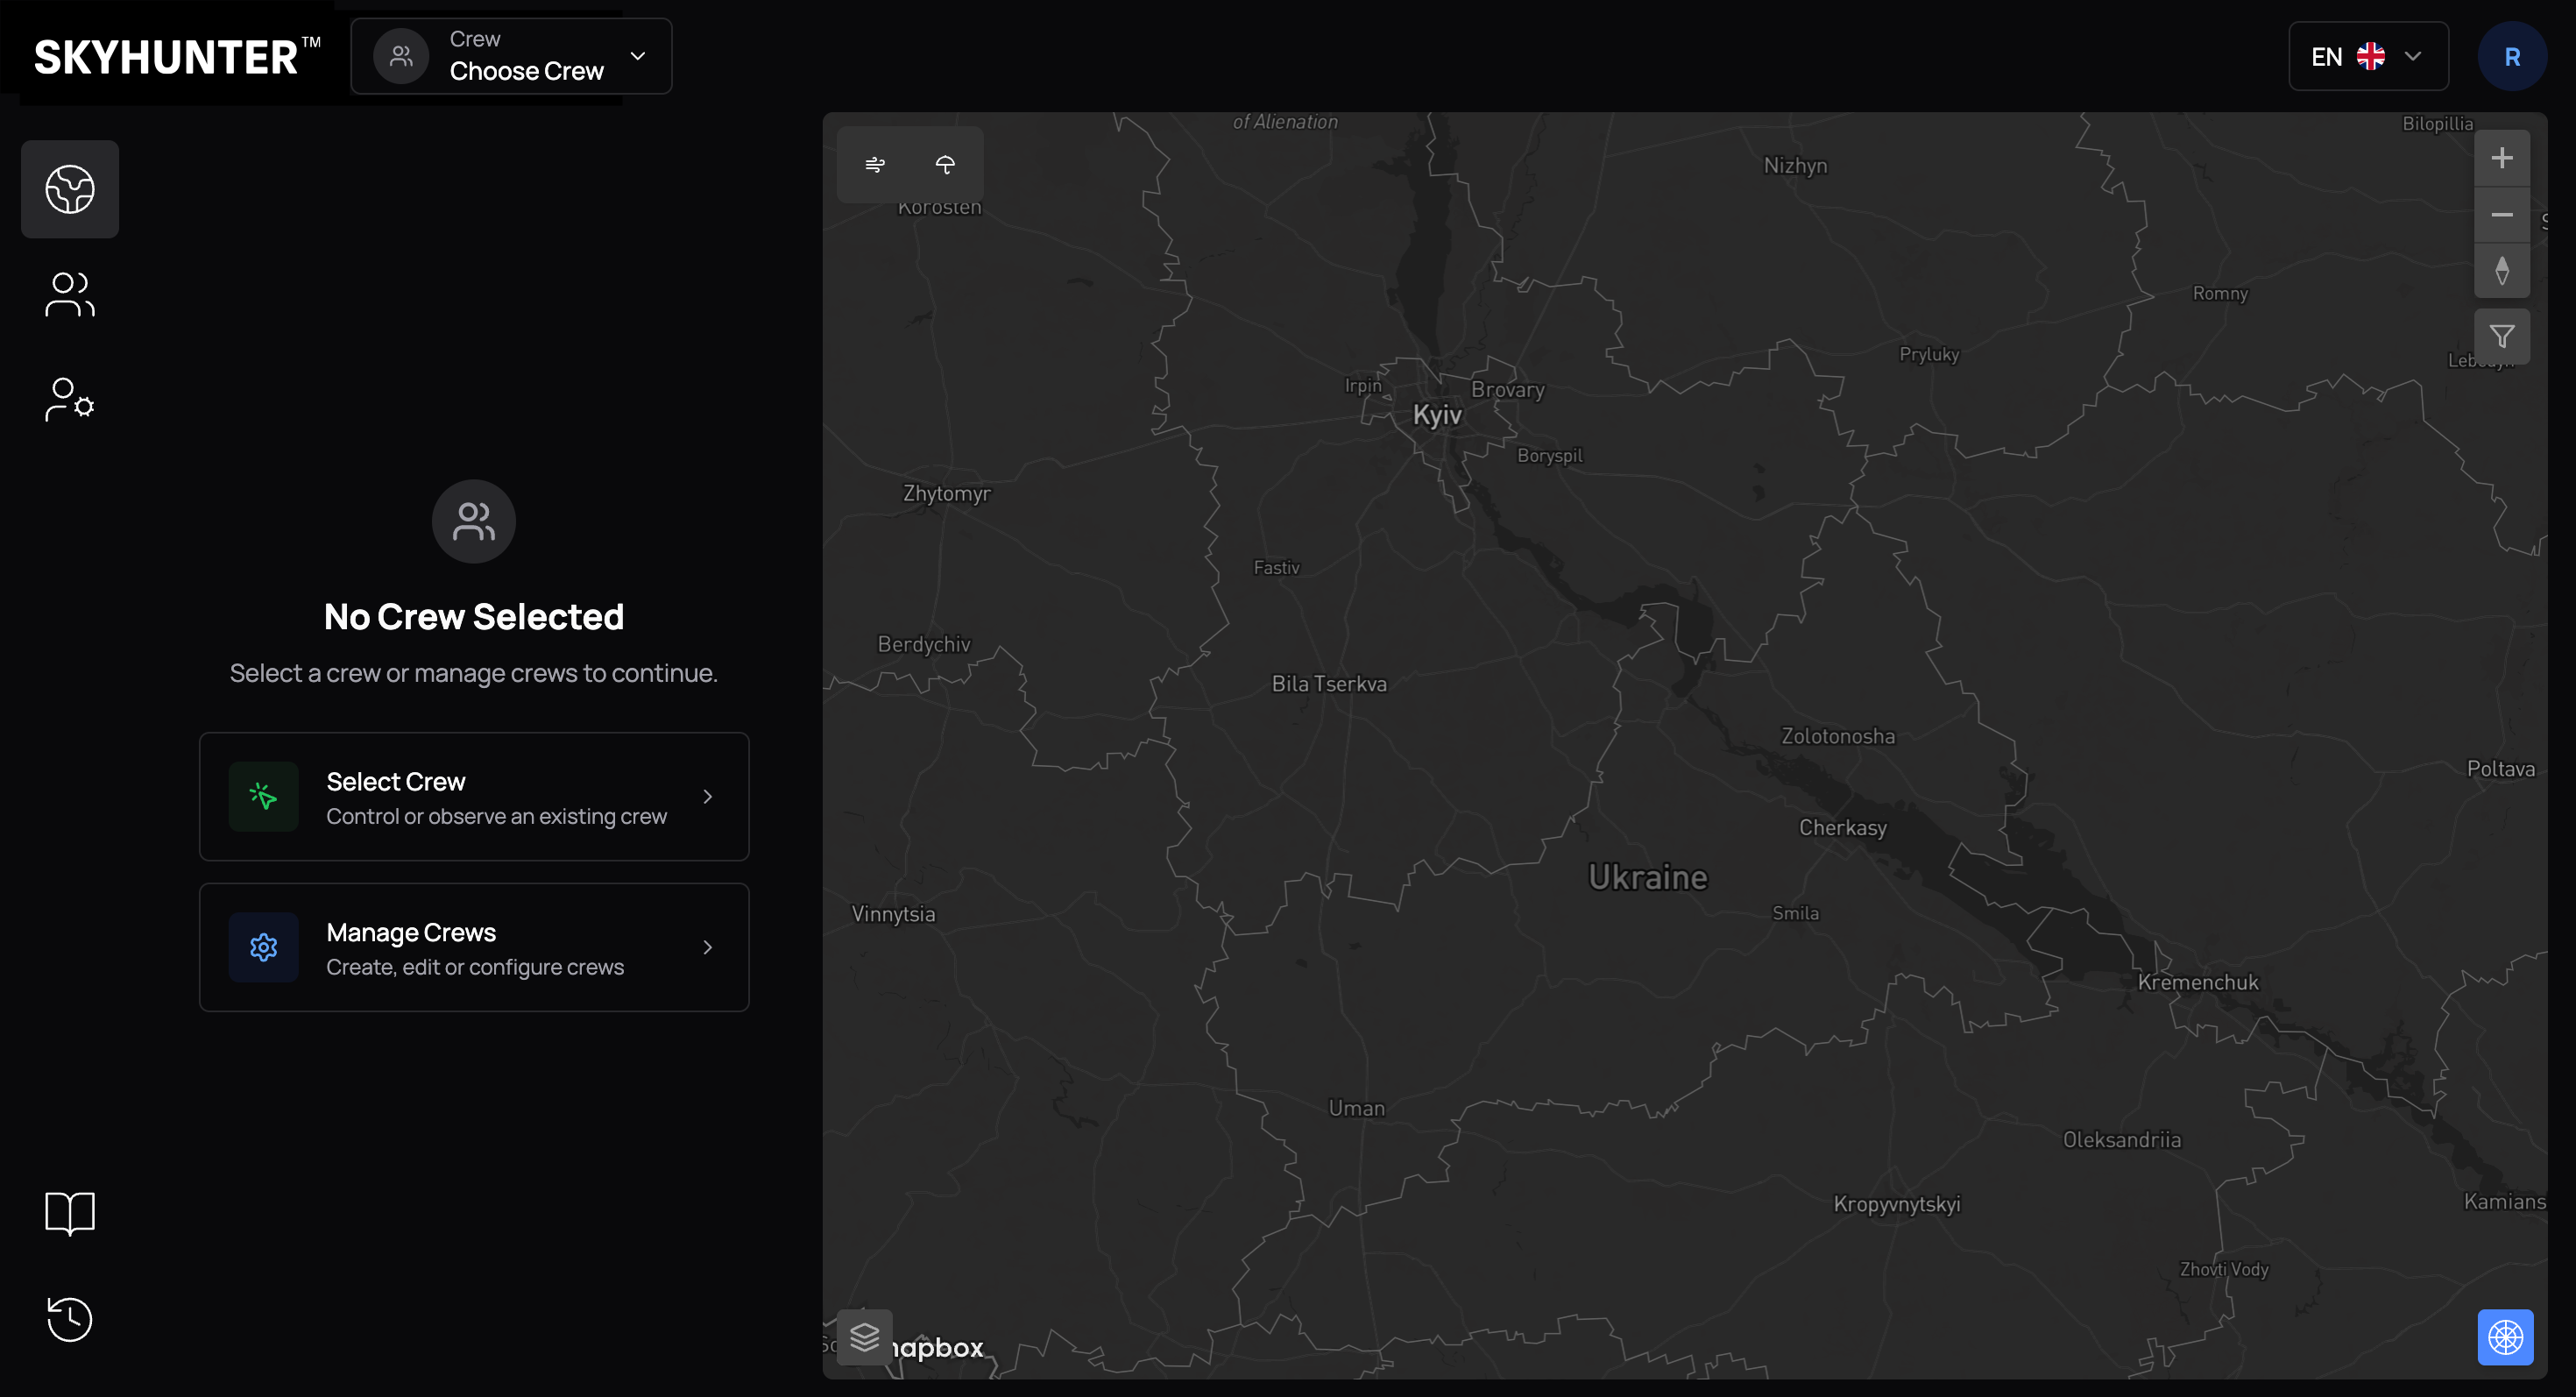
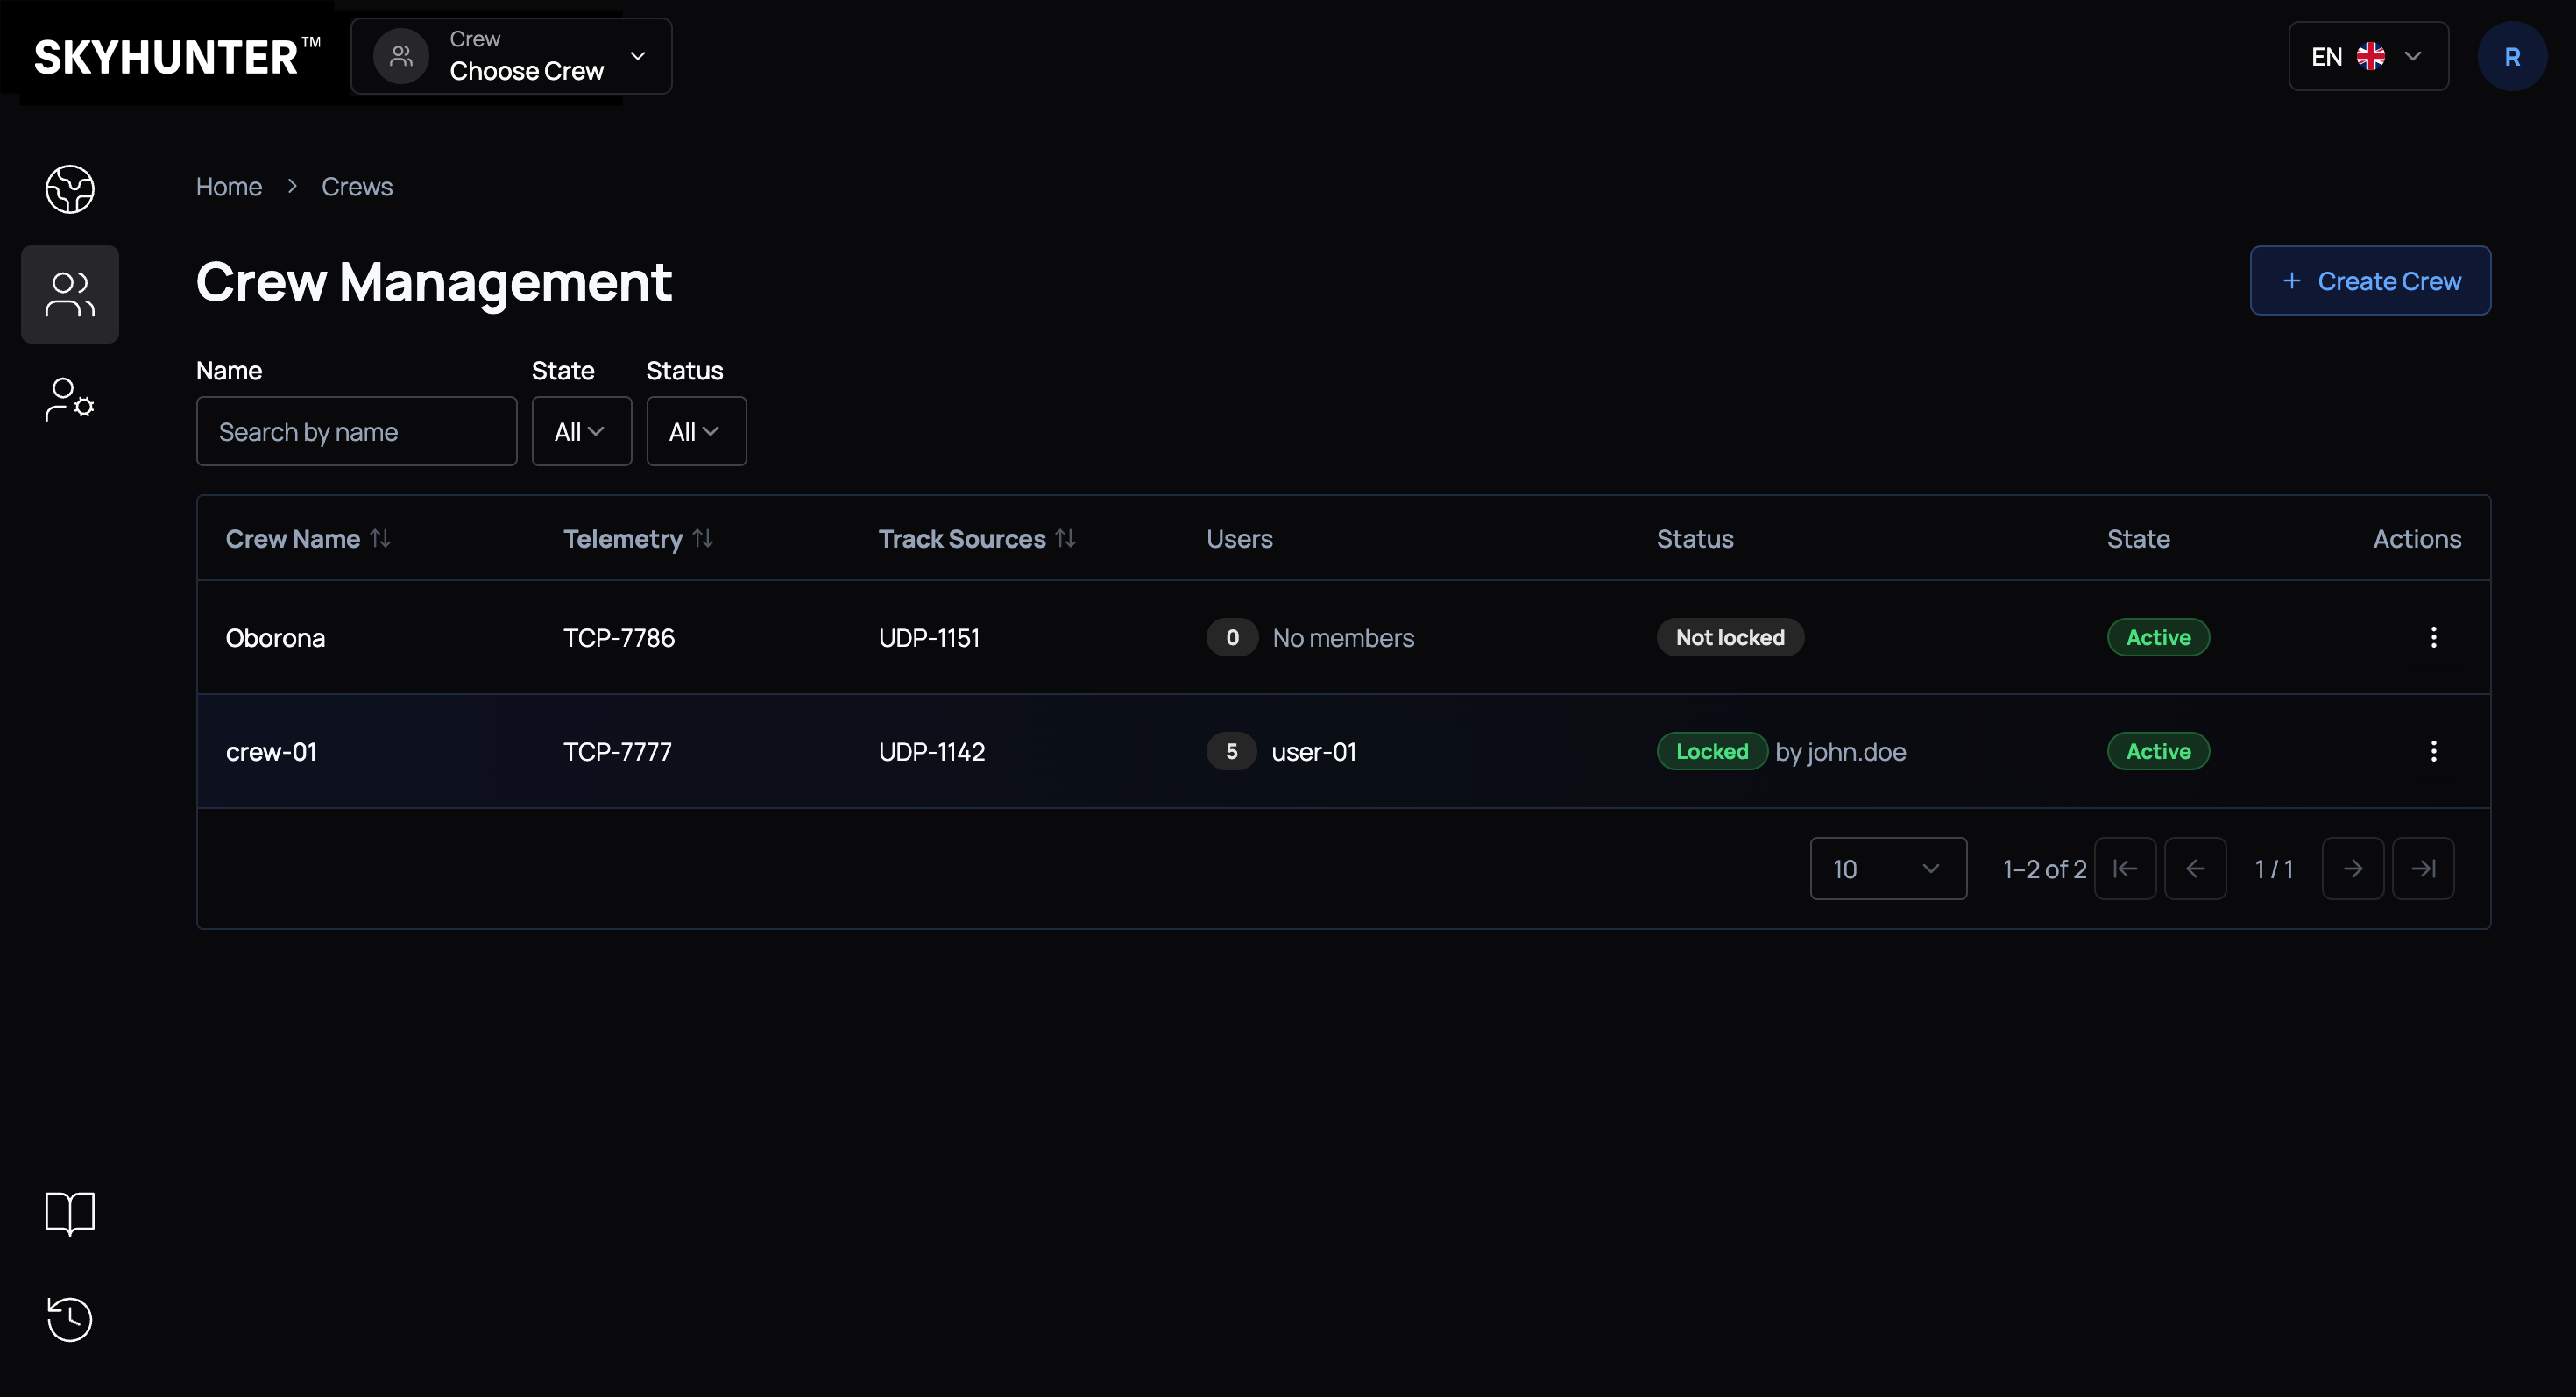
To navigate to crew management, click Manage Crews, located on the left side of the interface.
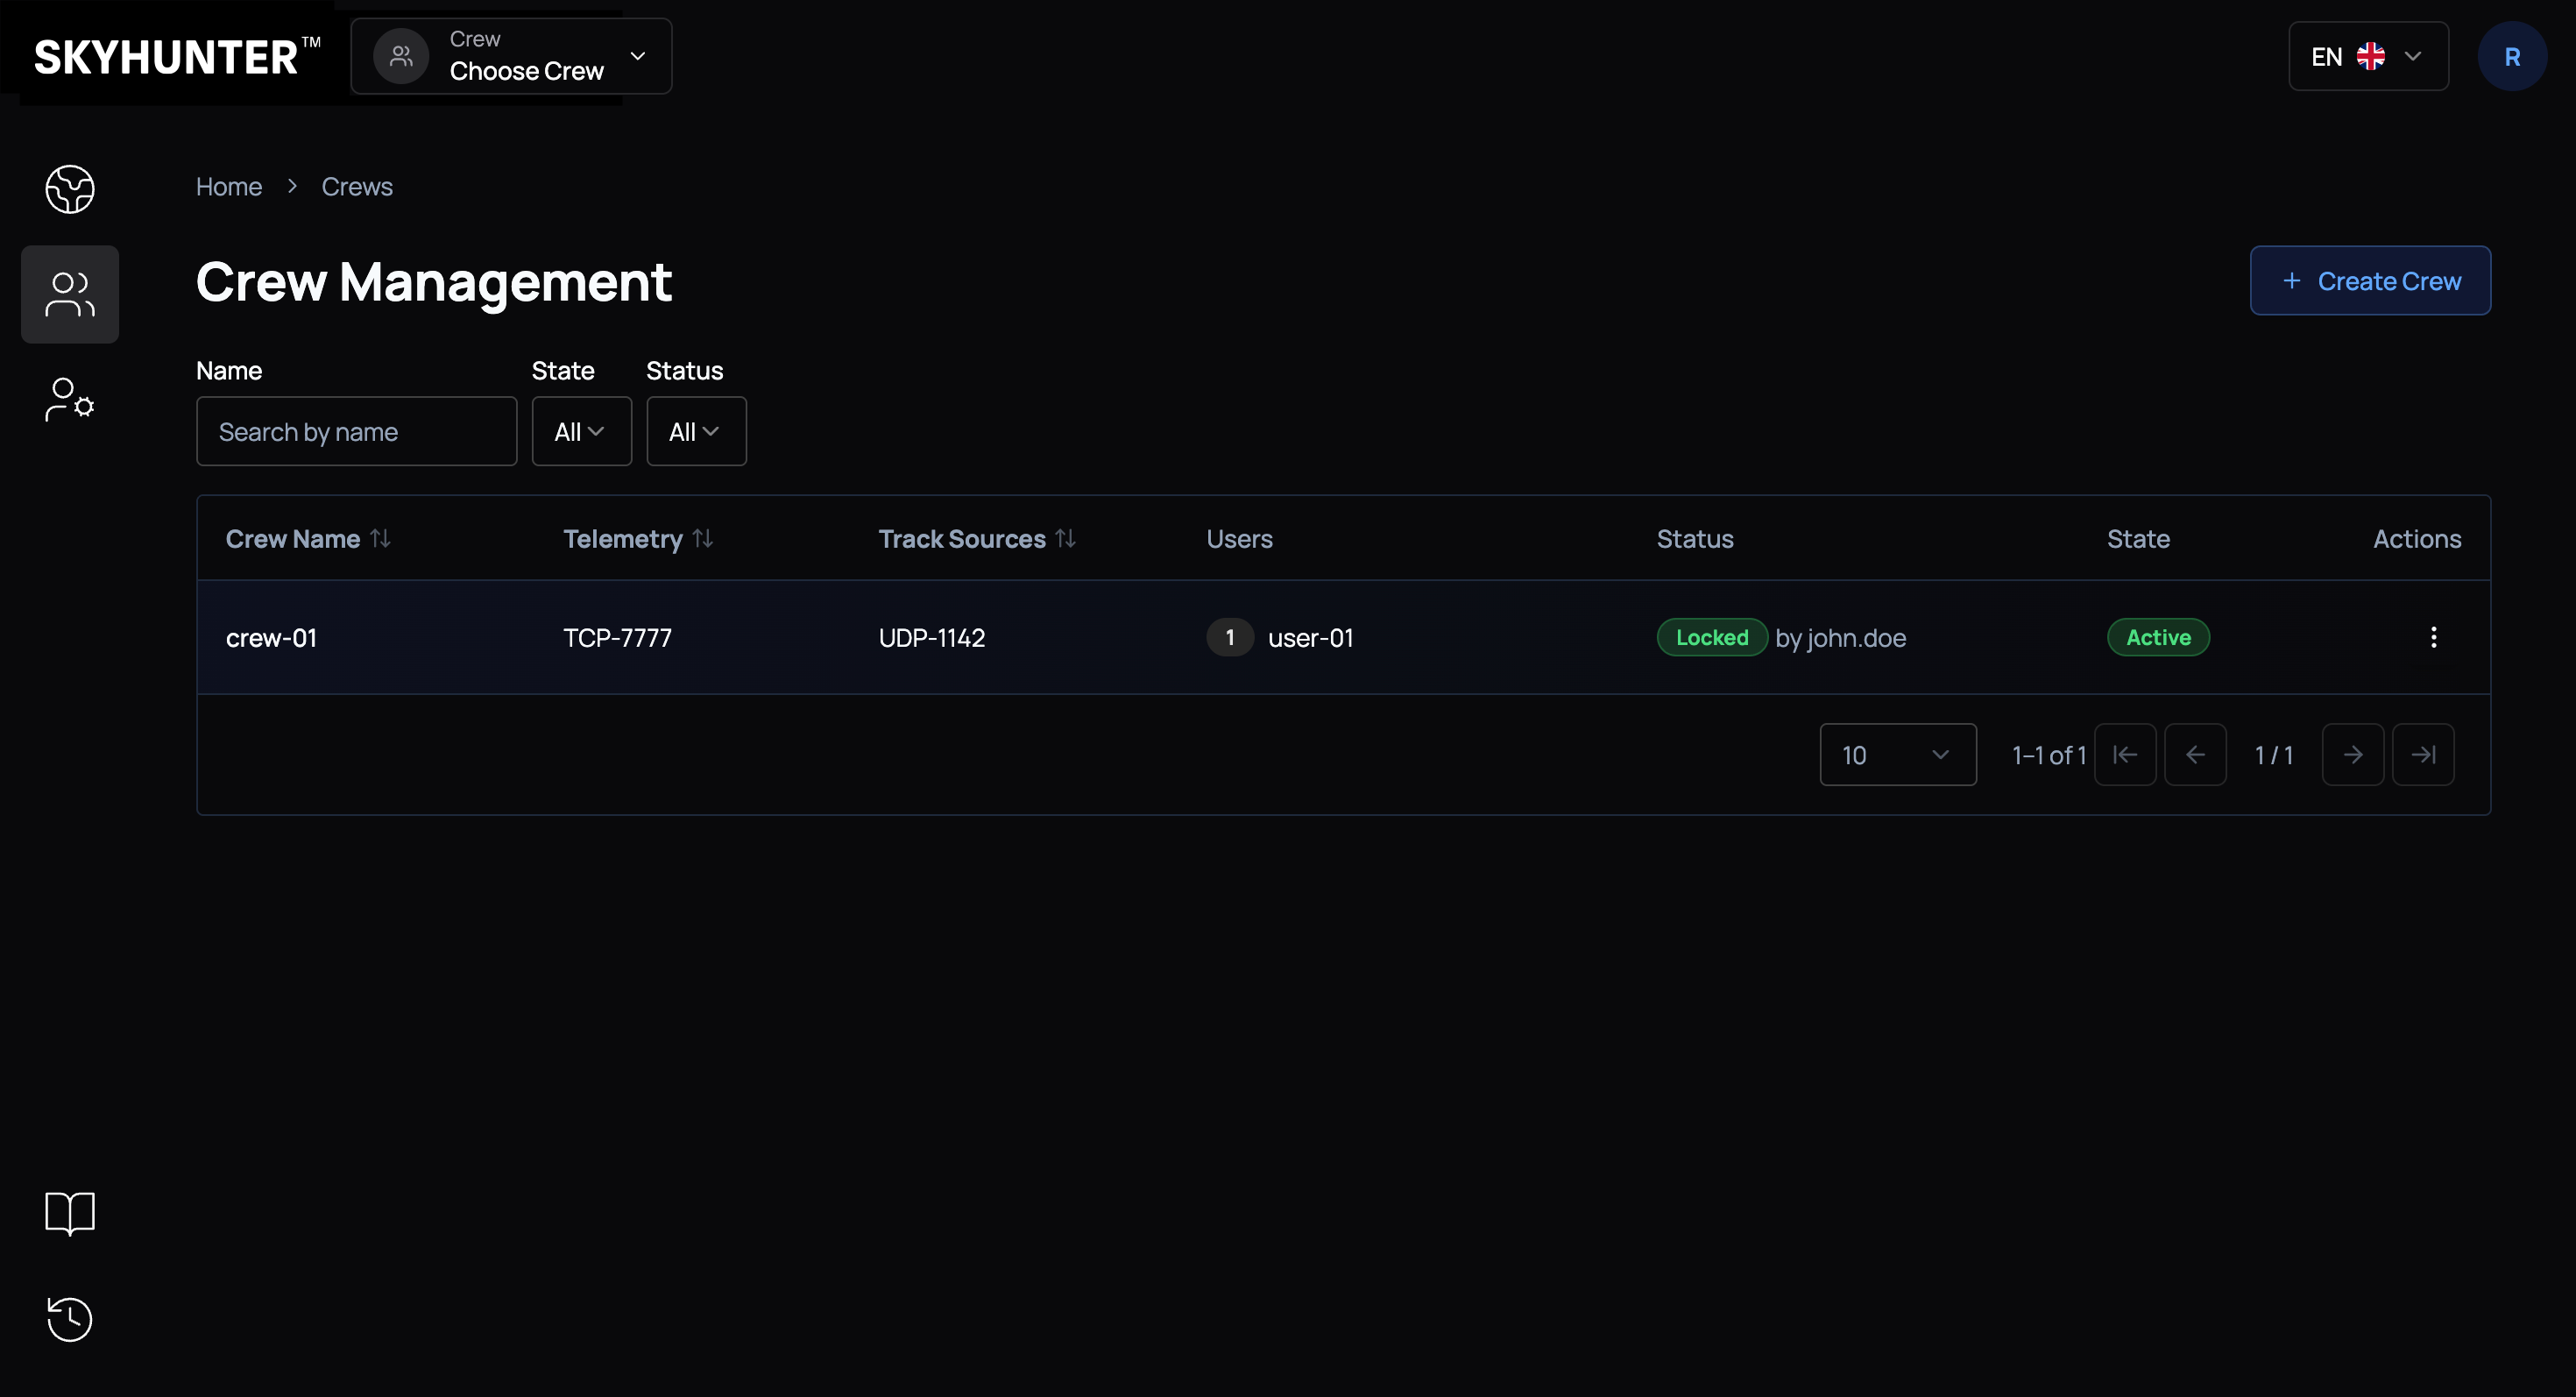
A table with a list of all crews and key information will open.
WARNING
If no crews have been created yet, the system will display a corresponding message.
Columns
| Field | Description |
|---|---|
| Crew Name | Unique crew name |
| Telemetry | Port for receiving telemetry data (TCP) |
| Trajectory Sources | Port for receiving trajectory data (UDP) |
| Users | List of users in the crew |
| Lock Status | Access state (locked / unlocked) |
| Status | Crew activity |
| Actions | Crew management menu |
Crew Lock Status
| Status | Description |
|---|---|
| ⚪ Unlocked | Crew is available for operation |
| 🟢 Locked | Access is restricted (the user who locked it is indicated) |
Activity Status
| Status | Description |
|---|---|
| 🟢 Active | Crew operates in normal mode |
Crew Actions
Each row contains an actions menu (three dots icon):
Available operations:
- view crew information
- edit crew
- manage users
- lock / unlock crew
Creating a New Crew
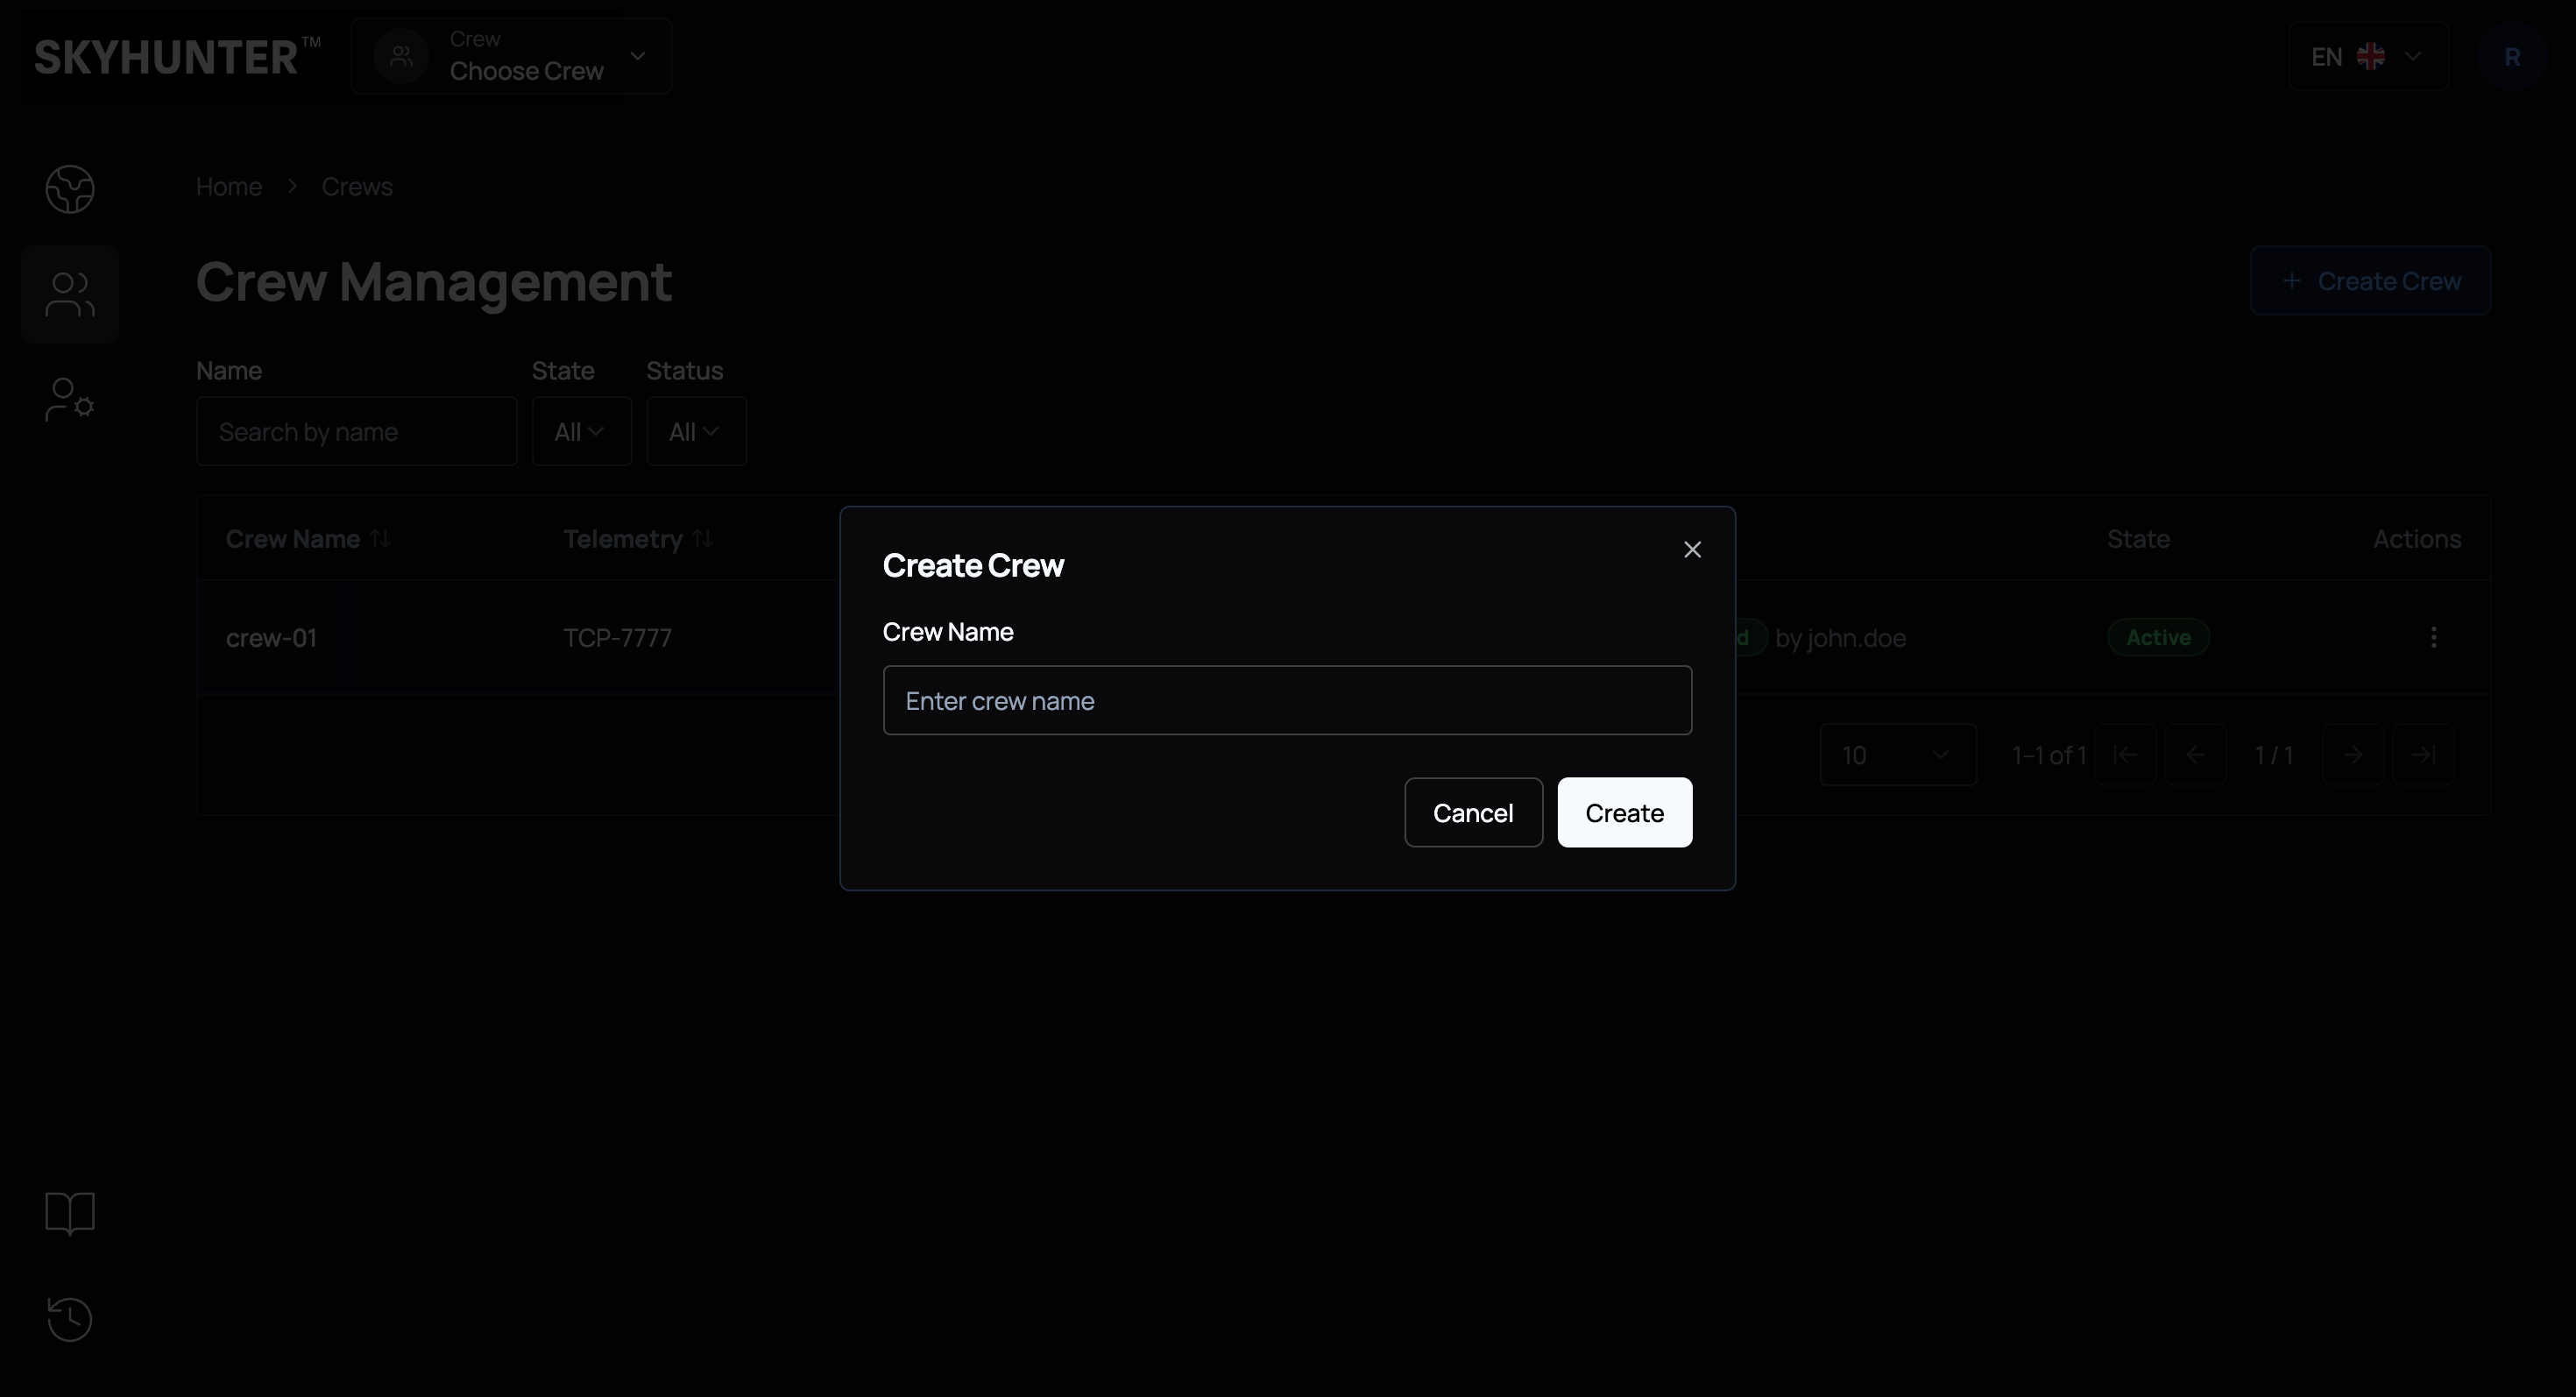
To create a new crew, click the Create Crew button.
In the crew creation form, you need to:
- enter the crew name (it is recommended to use a clear and identifiable name, for example:
Alpha-1,Sector-East,Recon-Team-3); - verify the correctness of the entered data;
- click the Create button.
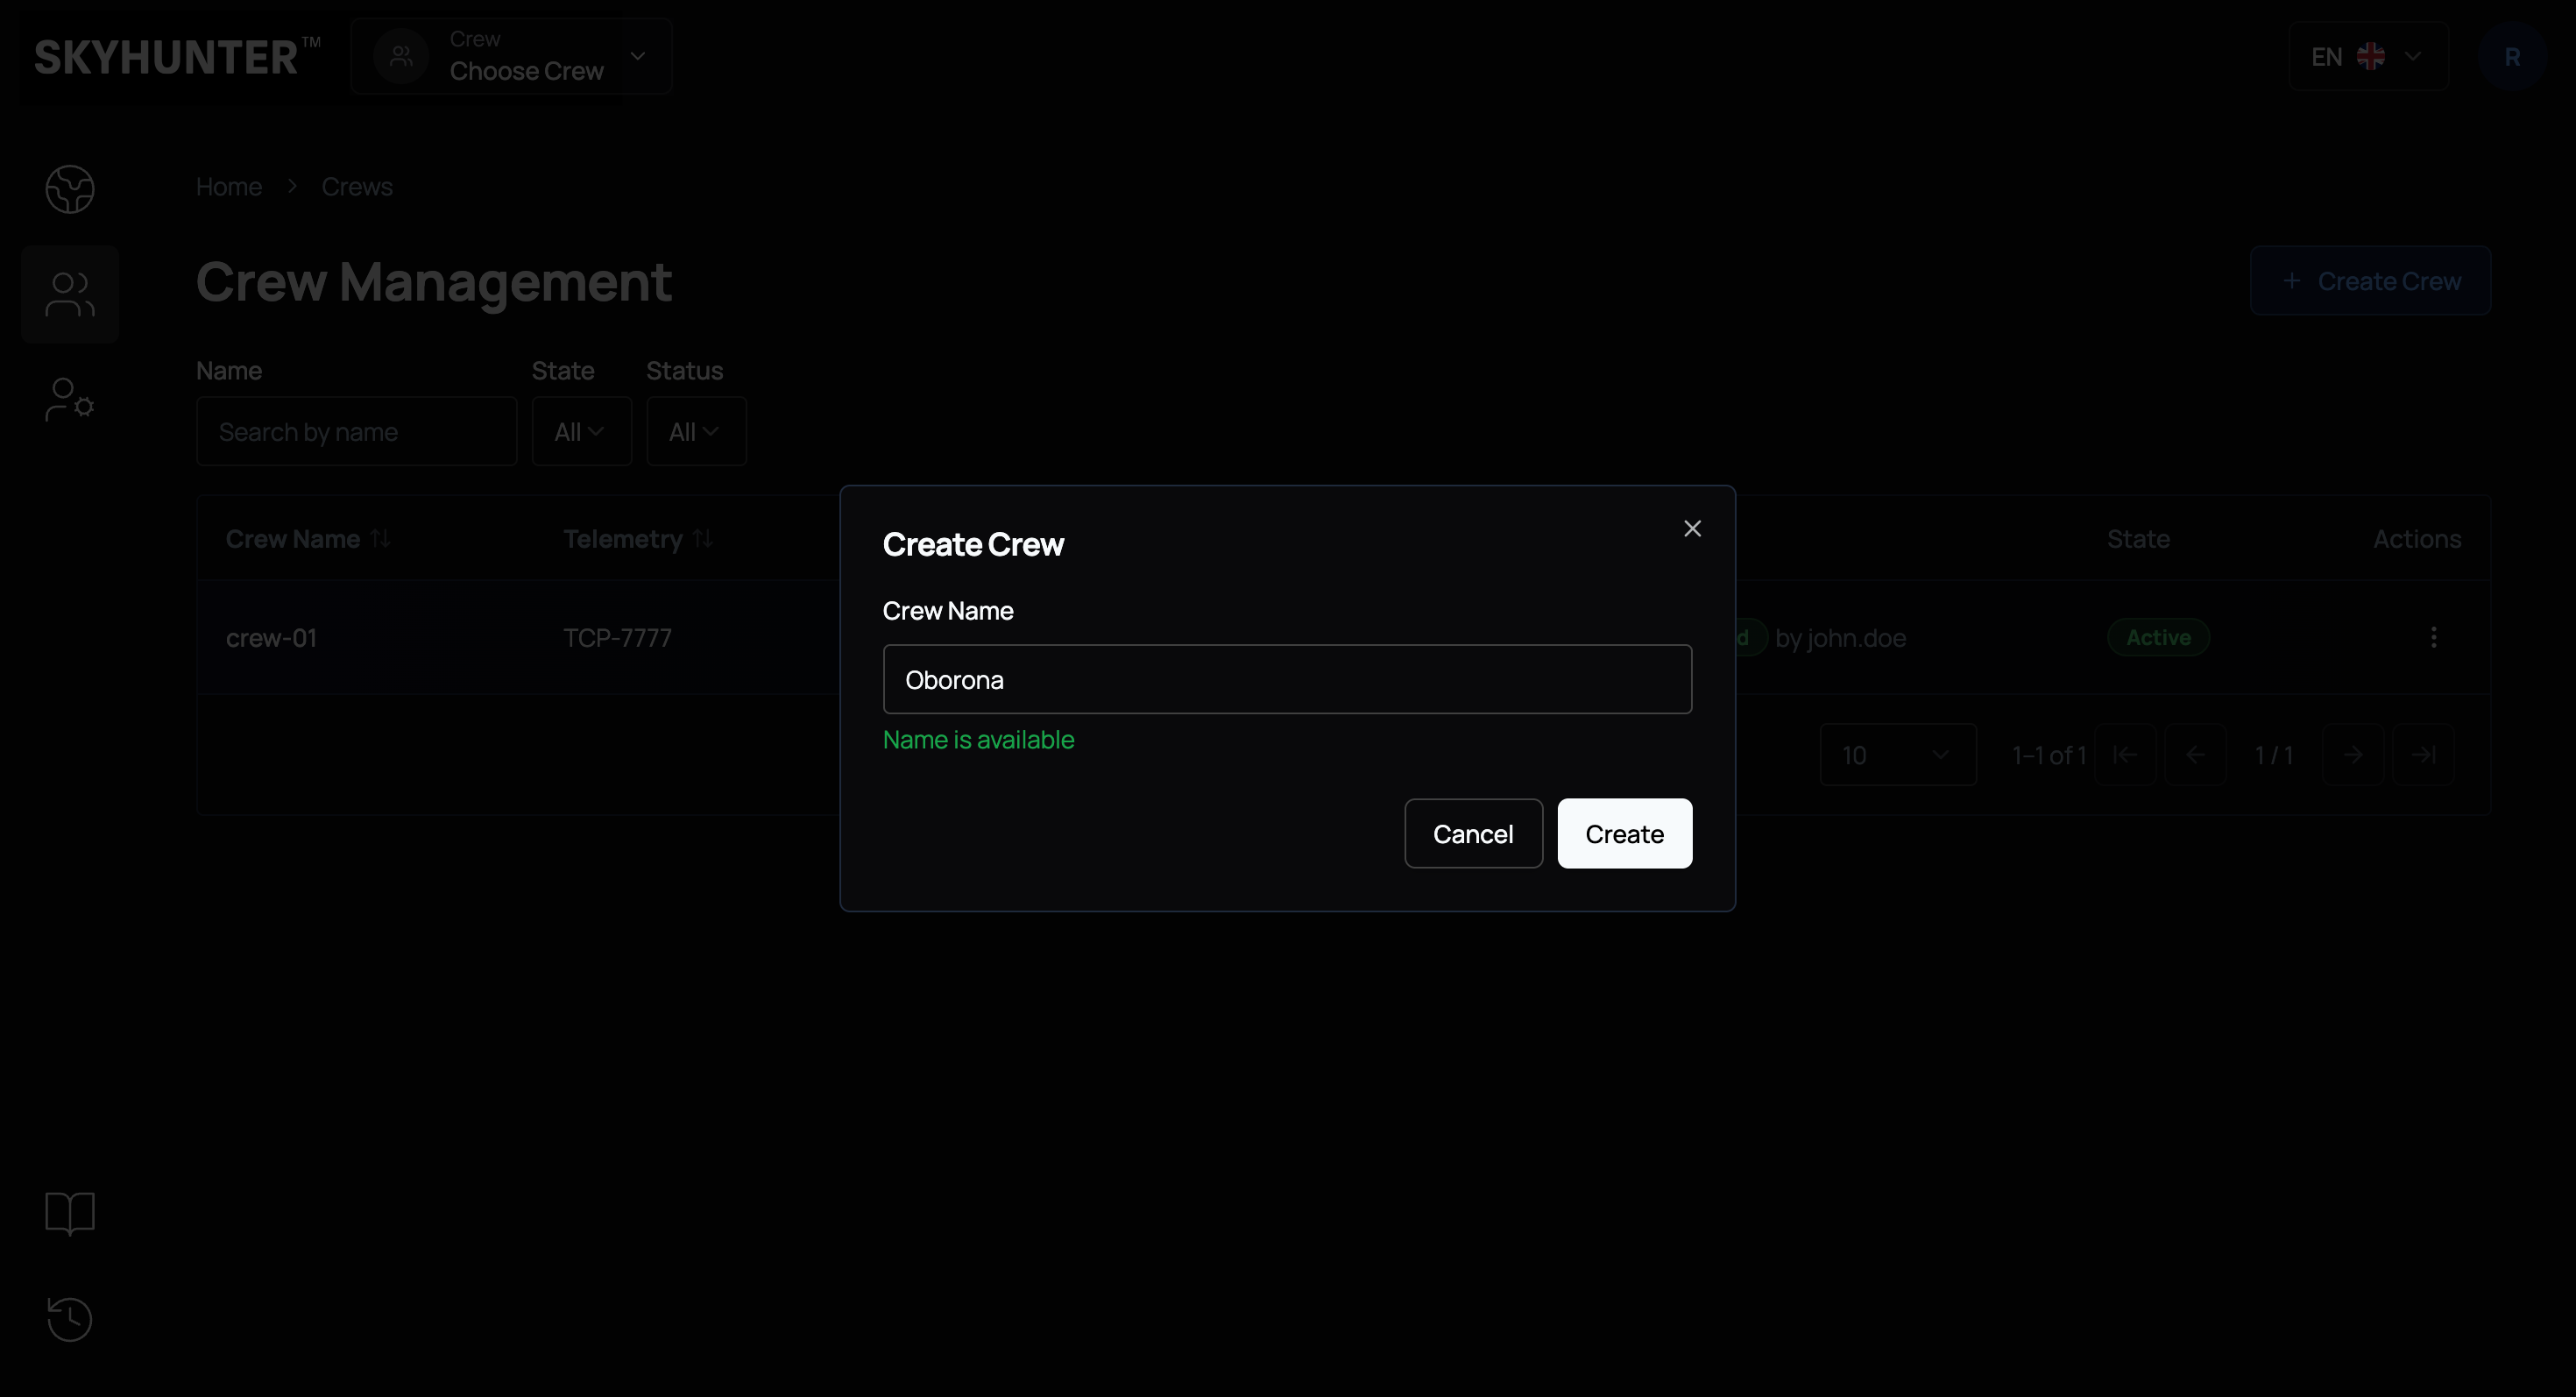
After confirmation, the newly created crew will appear in the general crew list.
From this point, you can proceed to configuring the team members.
Adding Members to a Crew
For a crew to operate fully, it is necessary to add members to it.
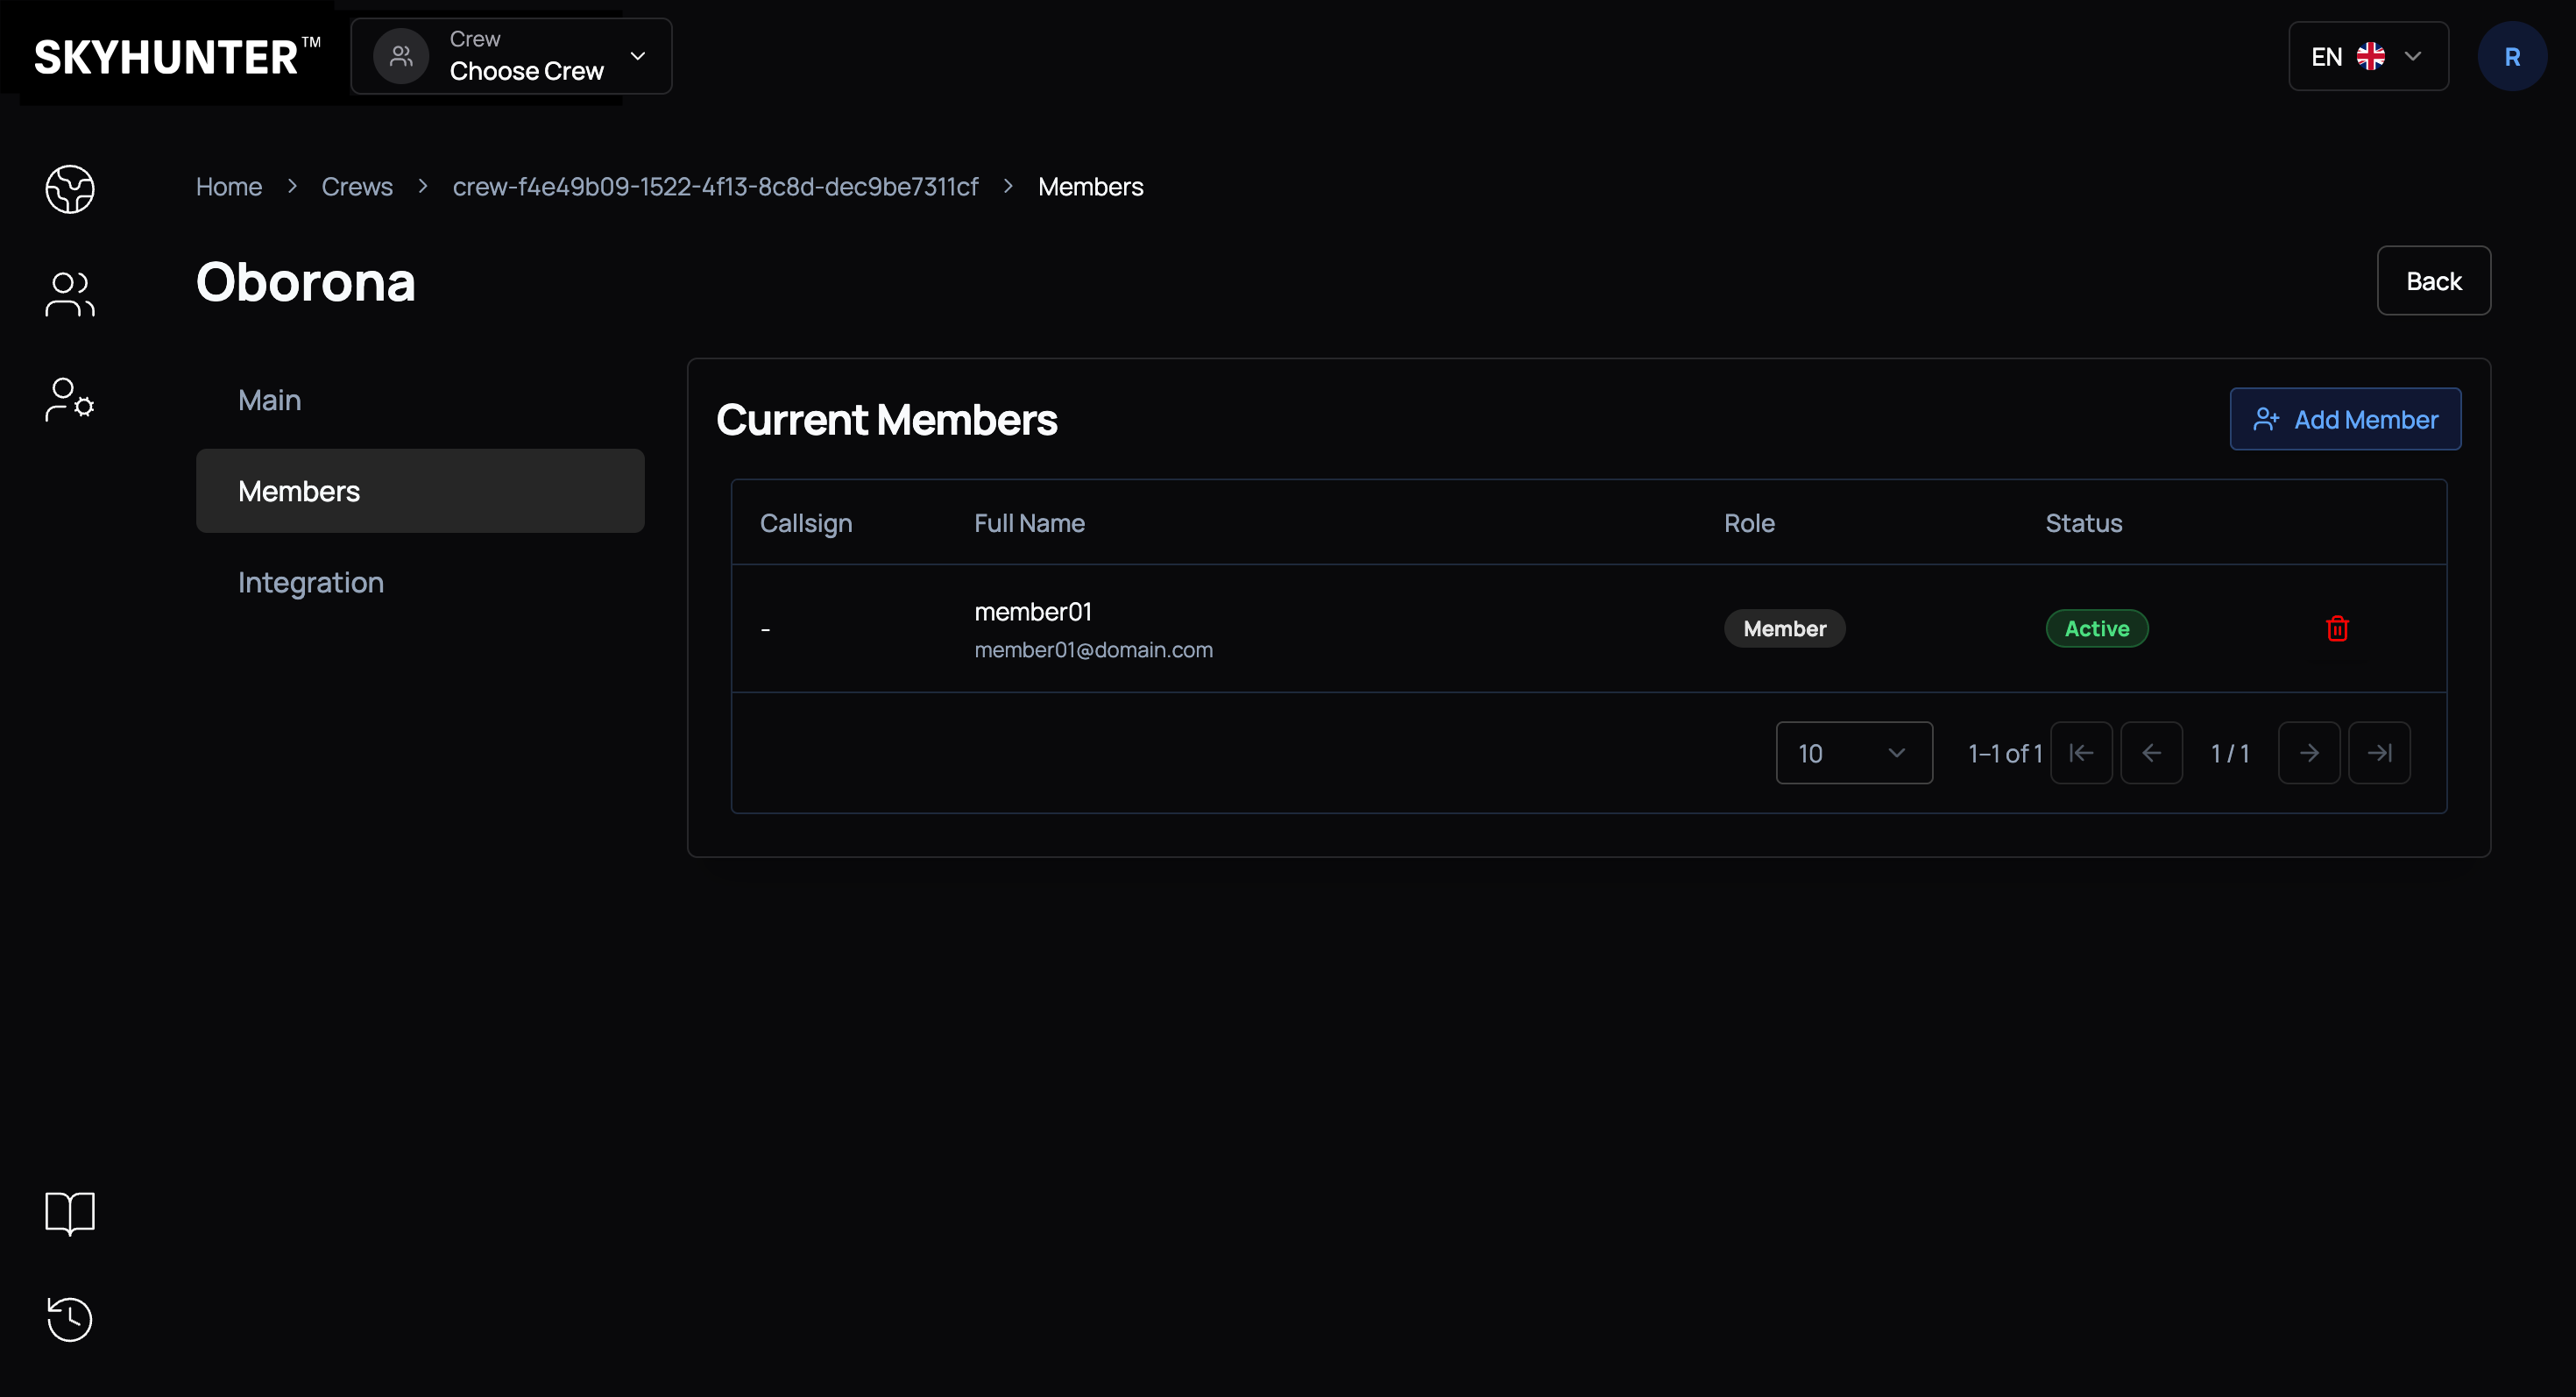
In the crew list, select the required crew, click its name, and go to the Members section.
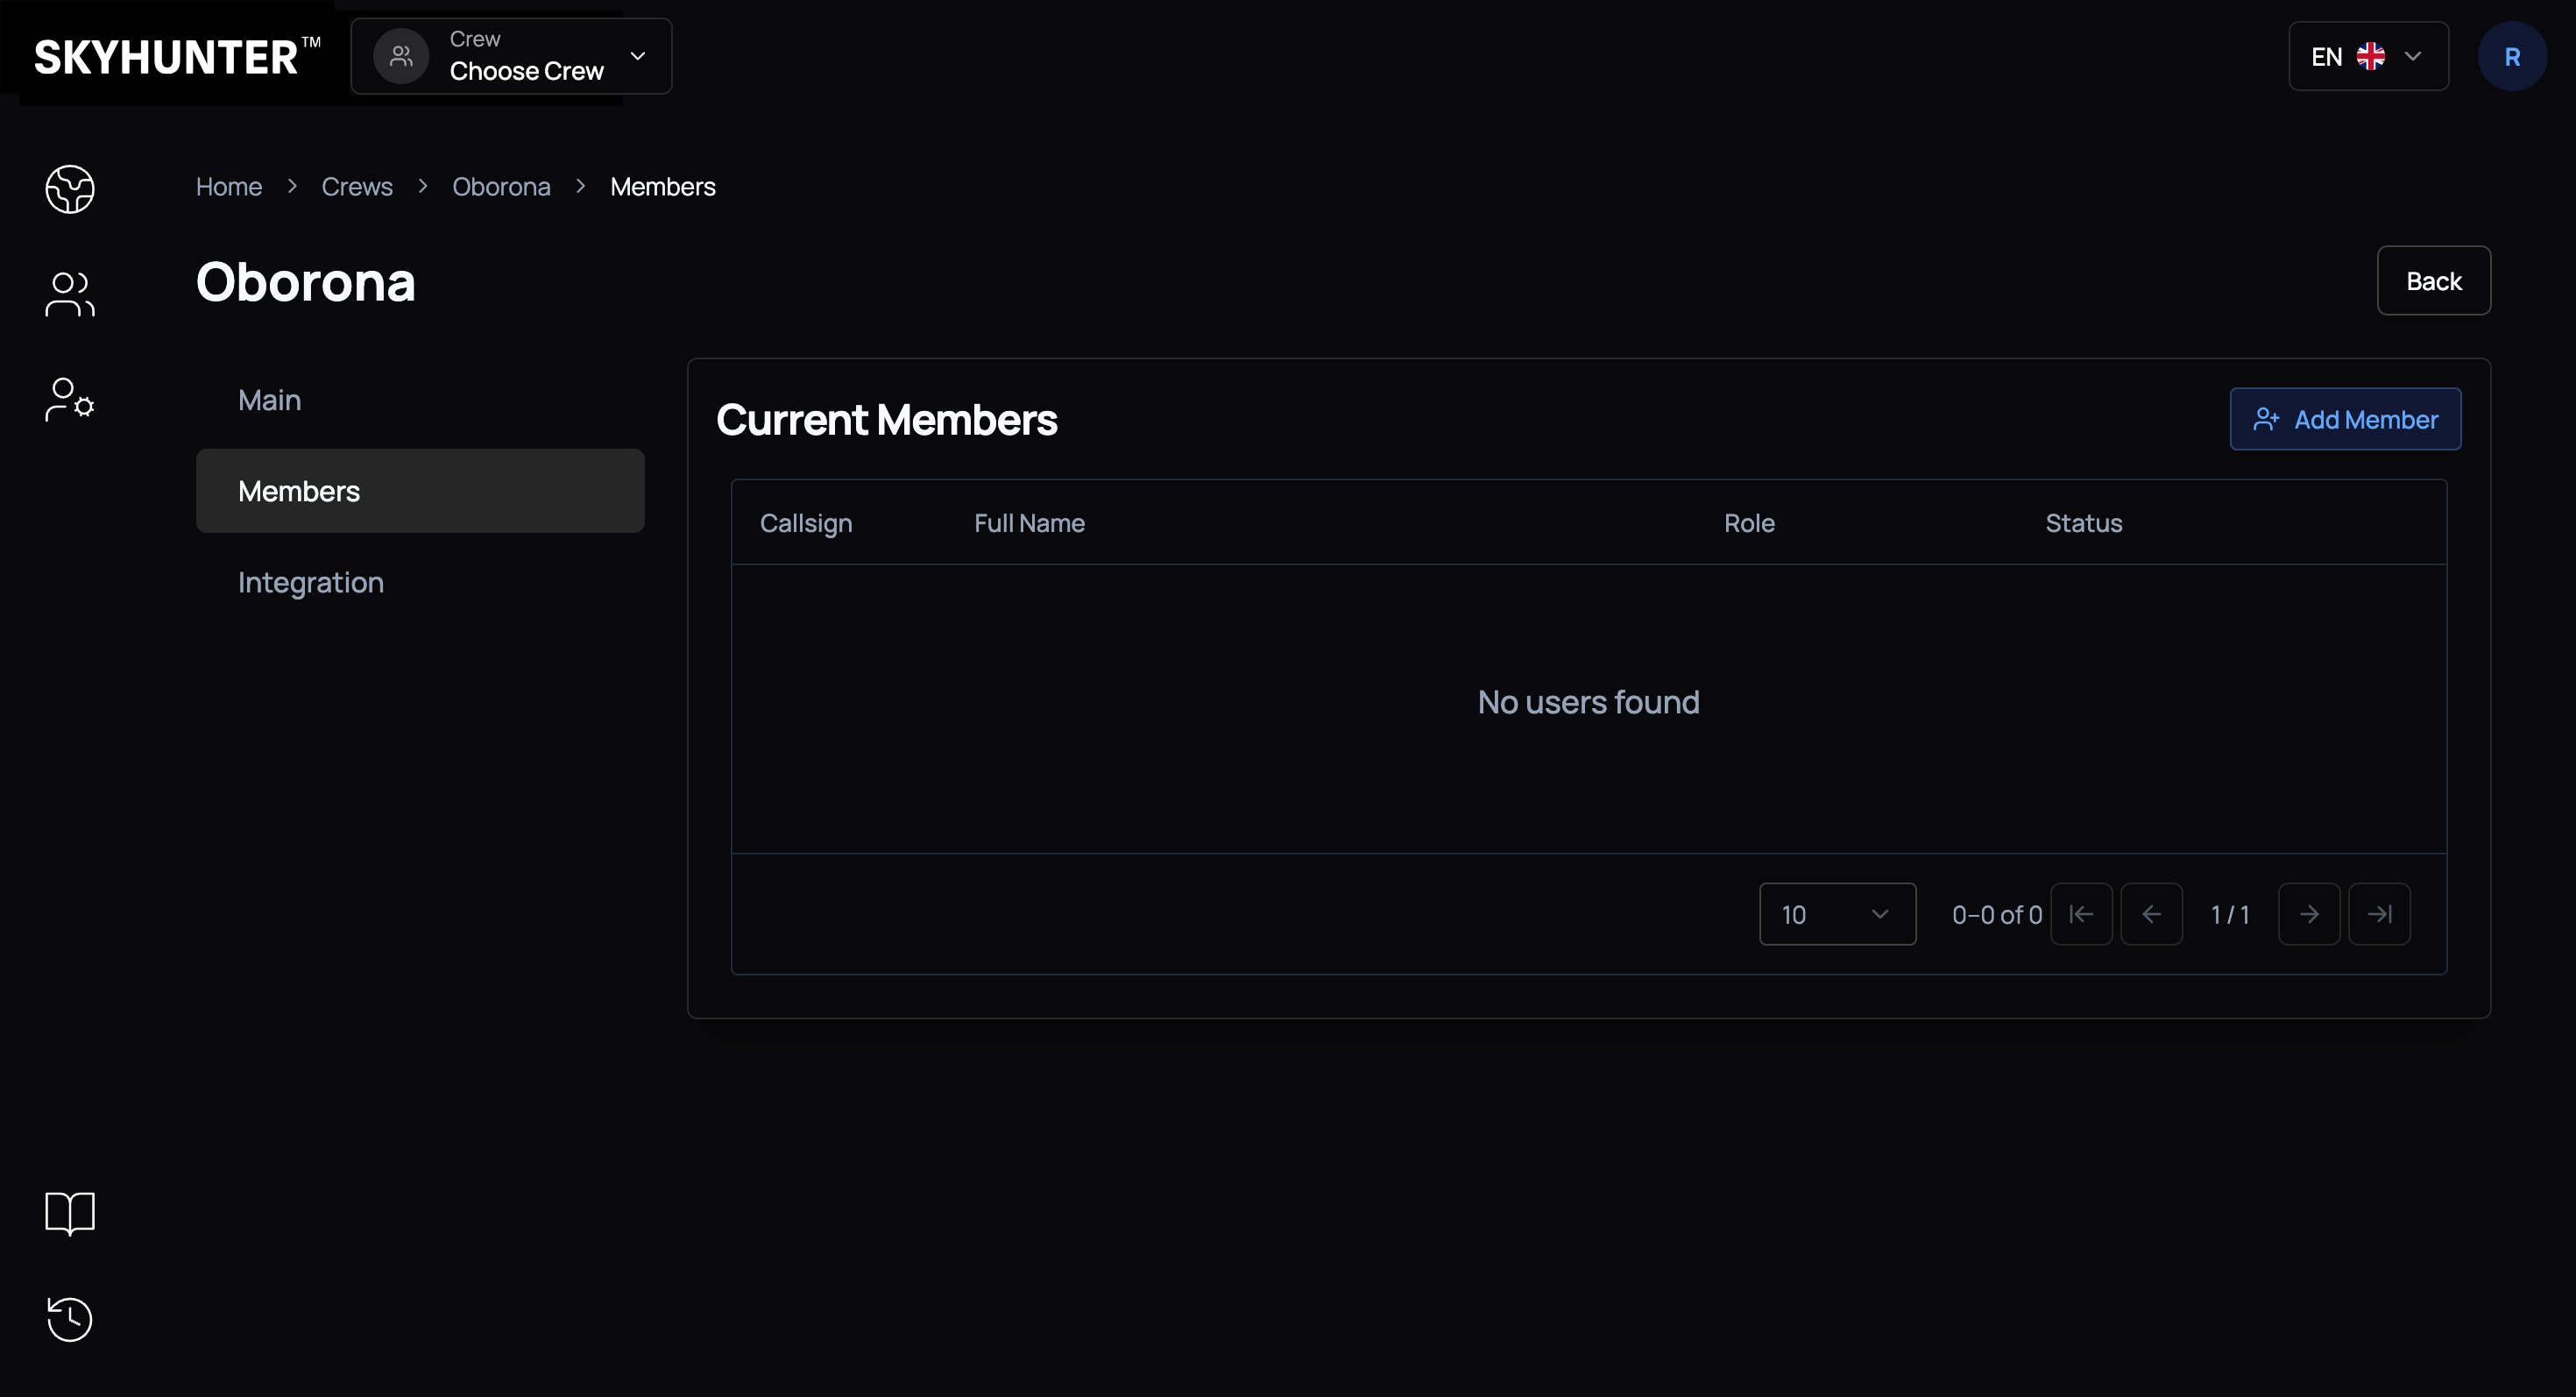
The list of crew members will open.
To add a new member to the crew, you need to:
- Click the Add Member button.
- Find the required user and add them by clicking Add Member.
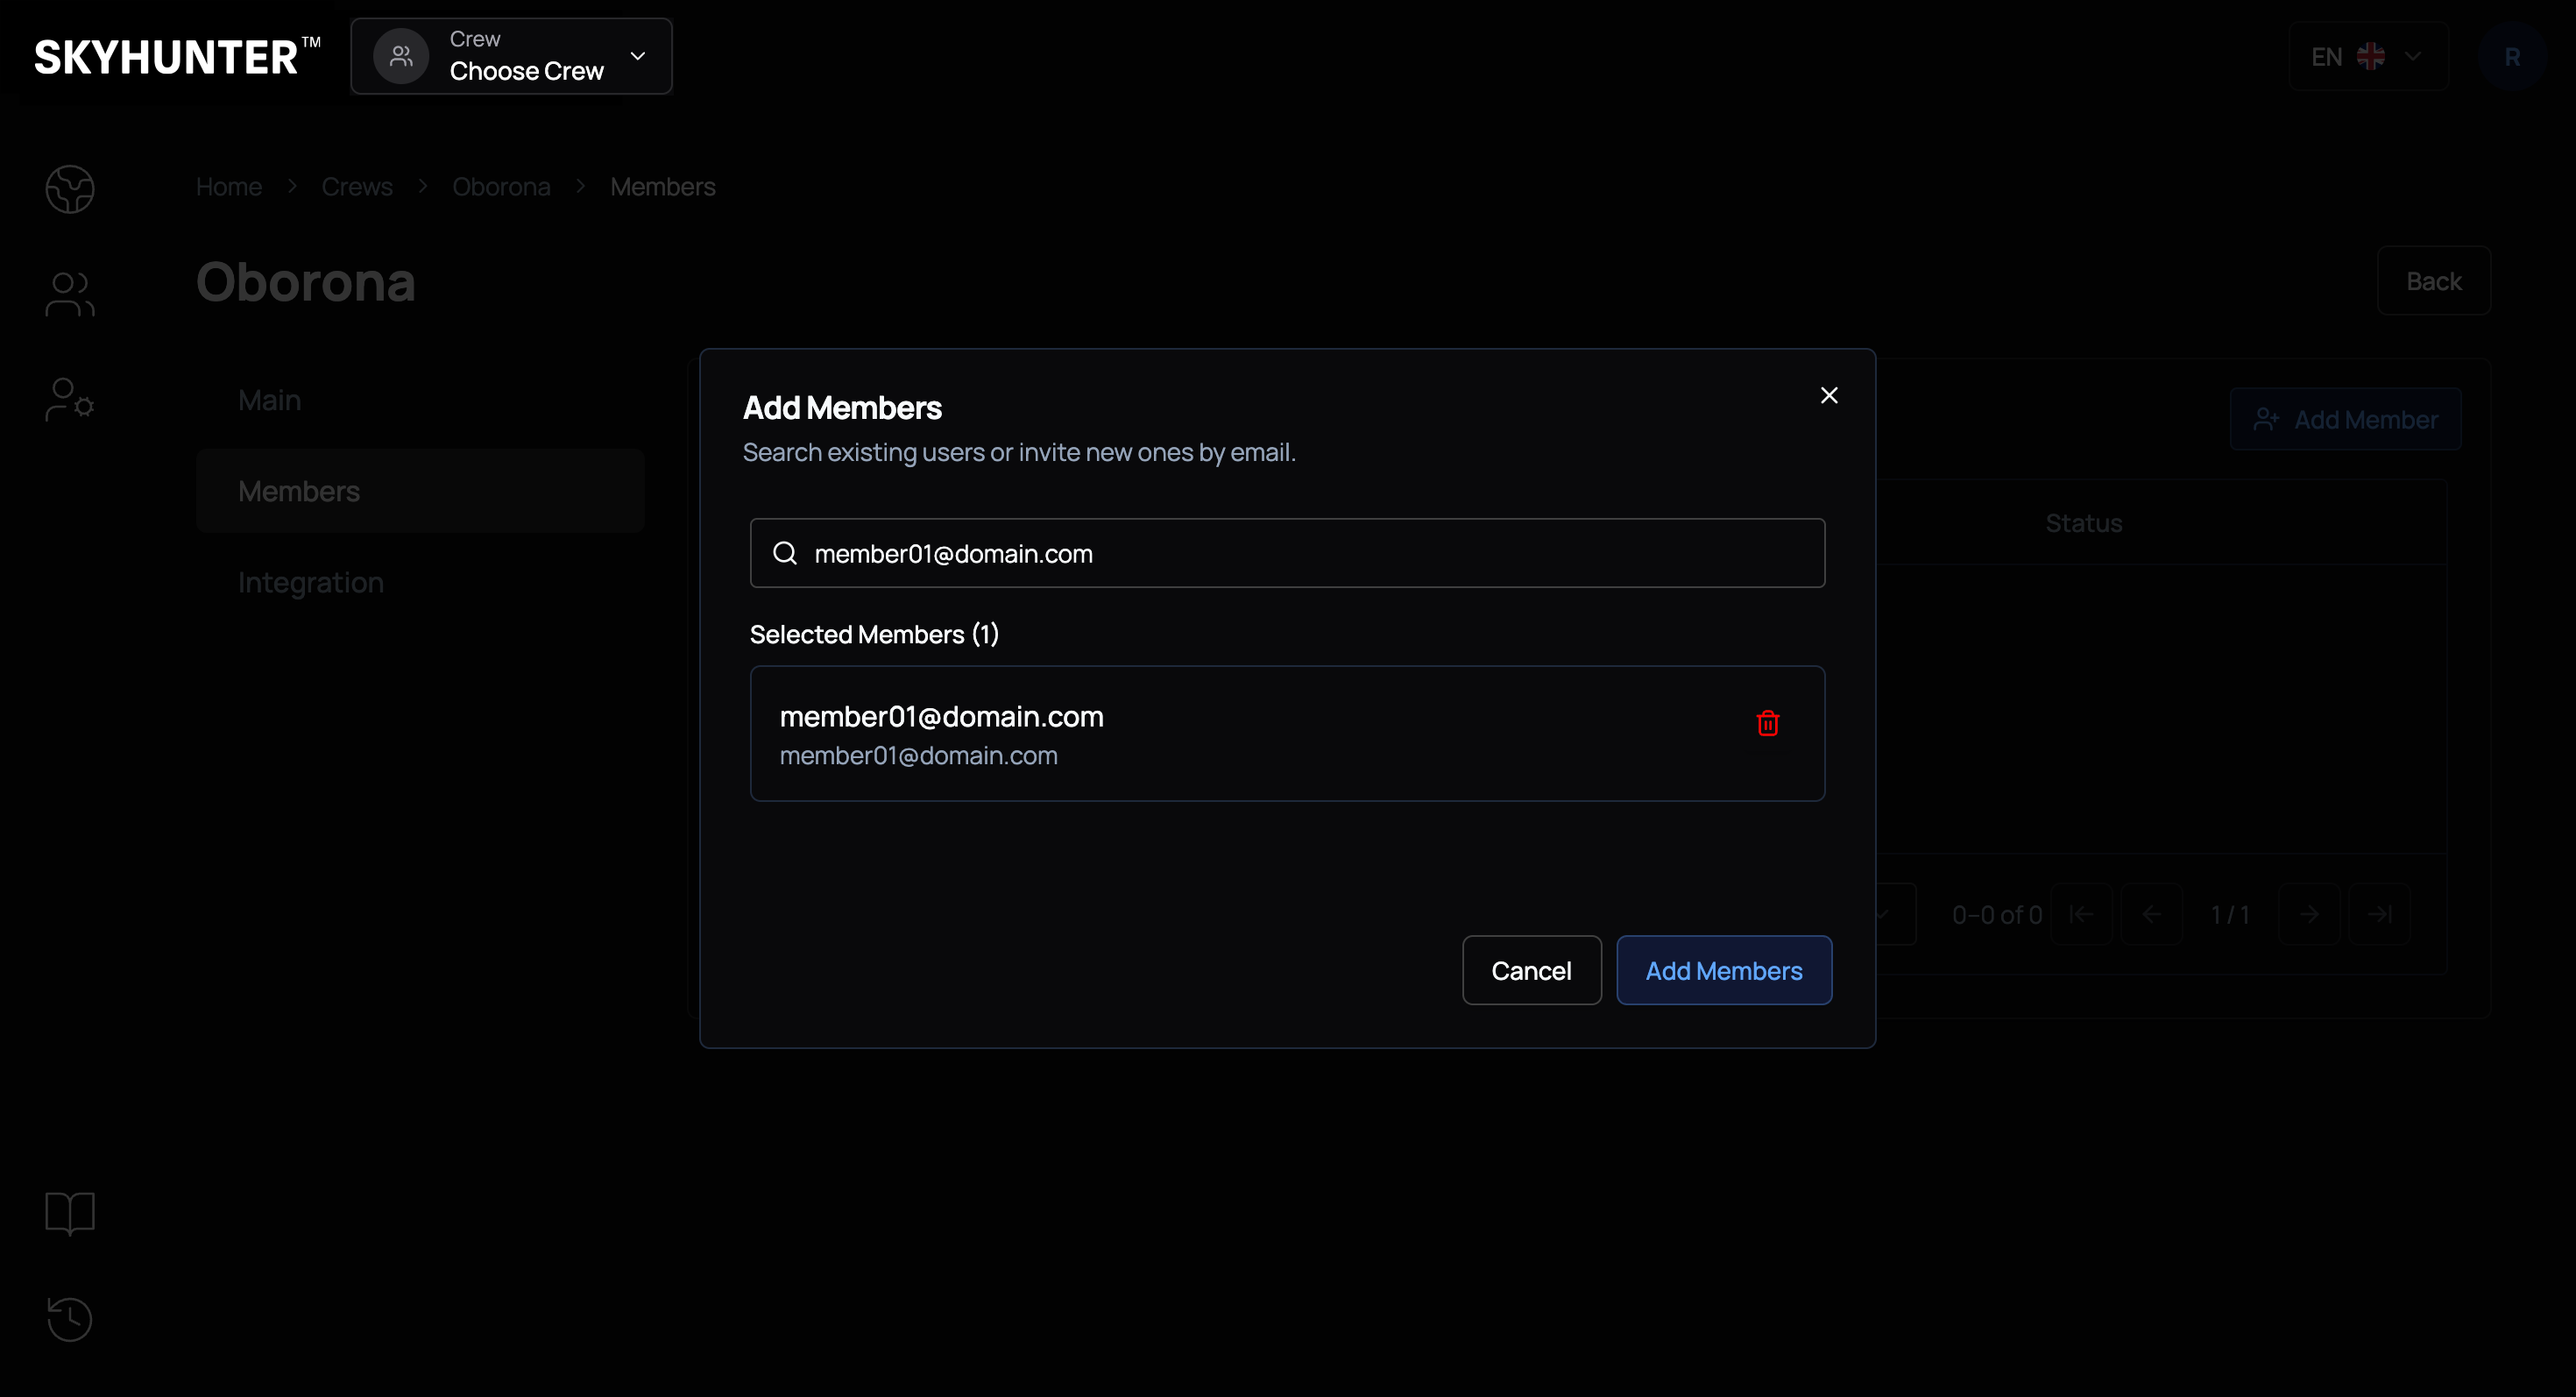
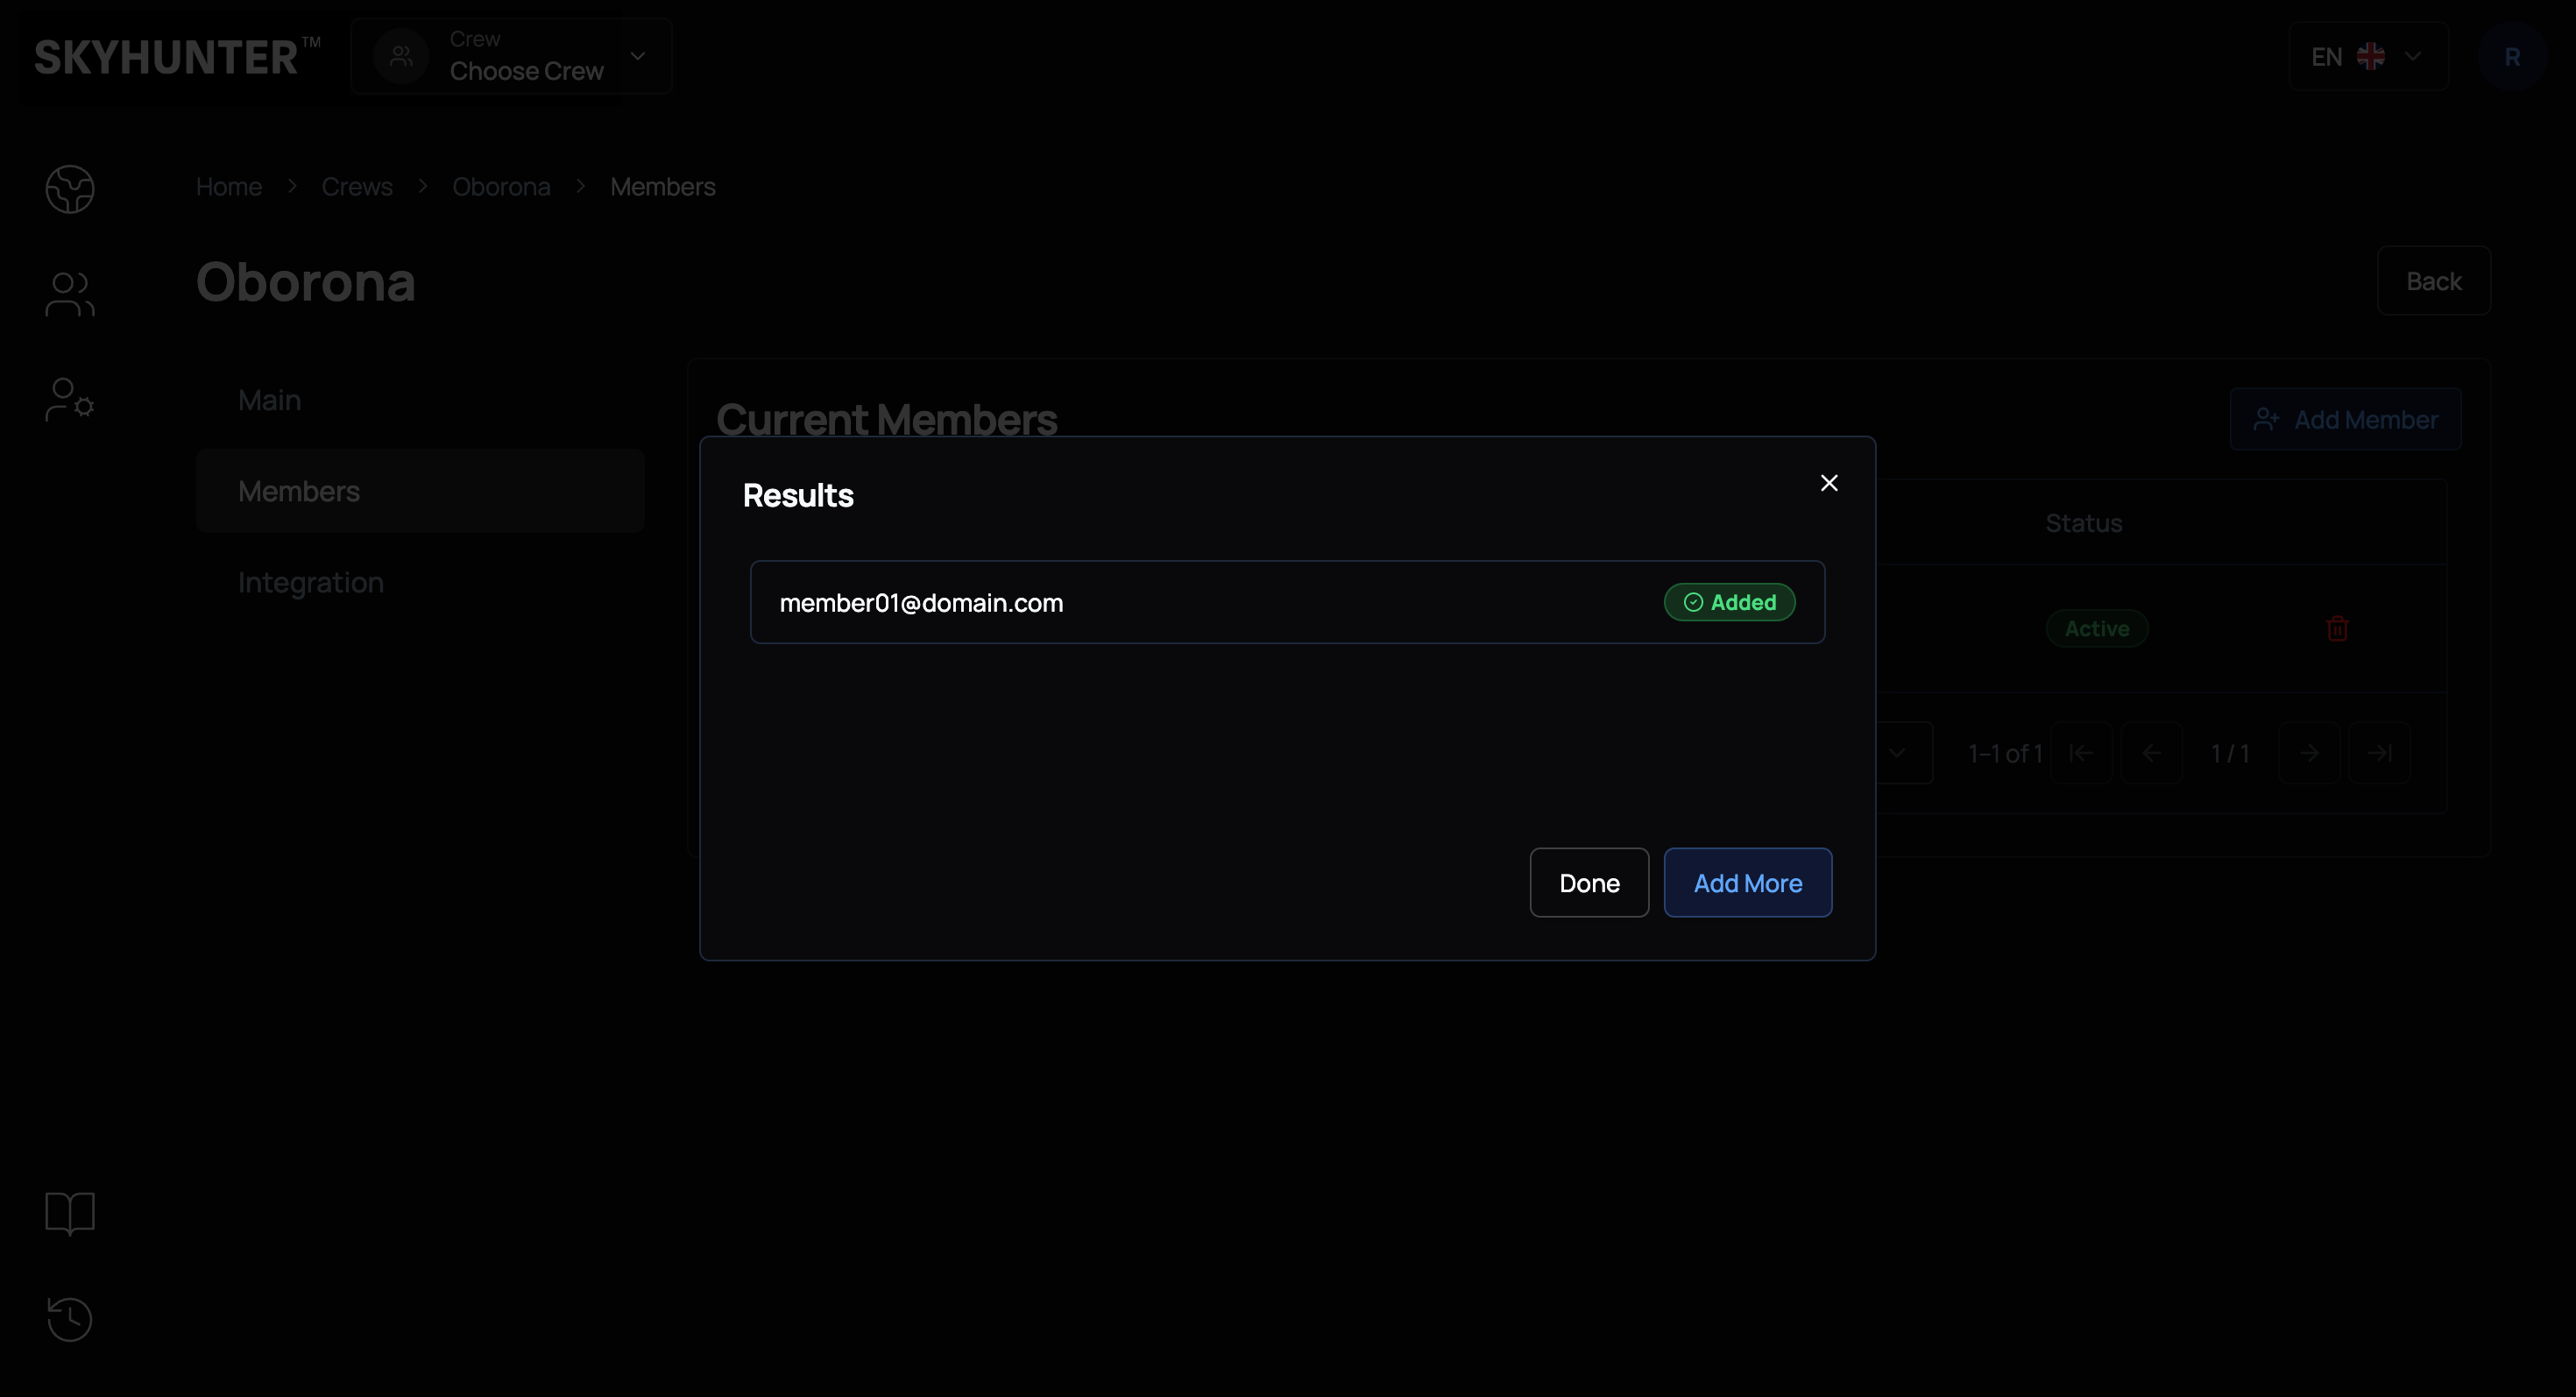
After that, the user will be added to the crew and will gain access to its data space according to their role.
Selecting and Locking a Crew (Lock Crew)
To start working with a specific crew, the responsible team member (in the pilot role) must assign the crew to themselves (select it as active).
This is necessary to:
- avoid conflicts when multiple crew members work simultaneously;
- clearly define the person responsible for the current session;
- ensure proper logging of events and telemetry.
To do this:
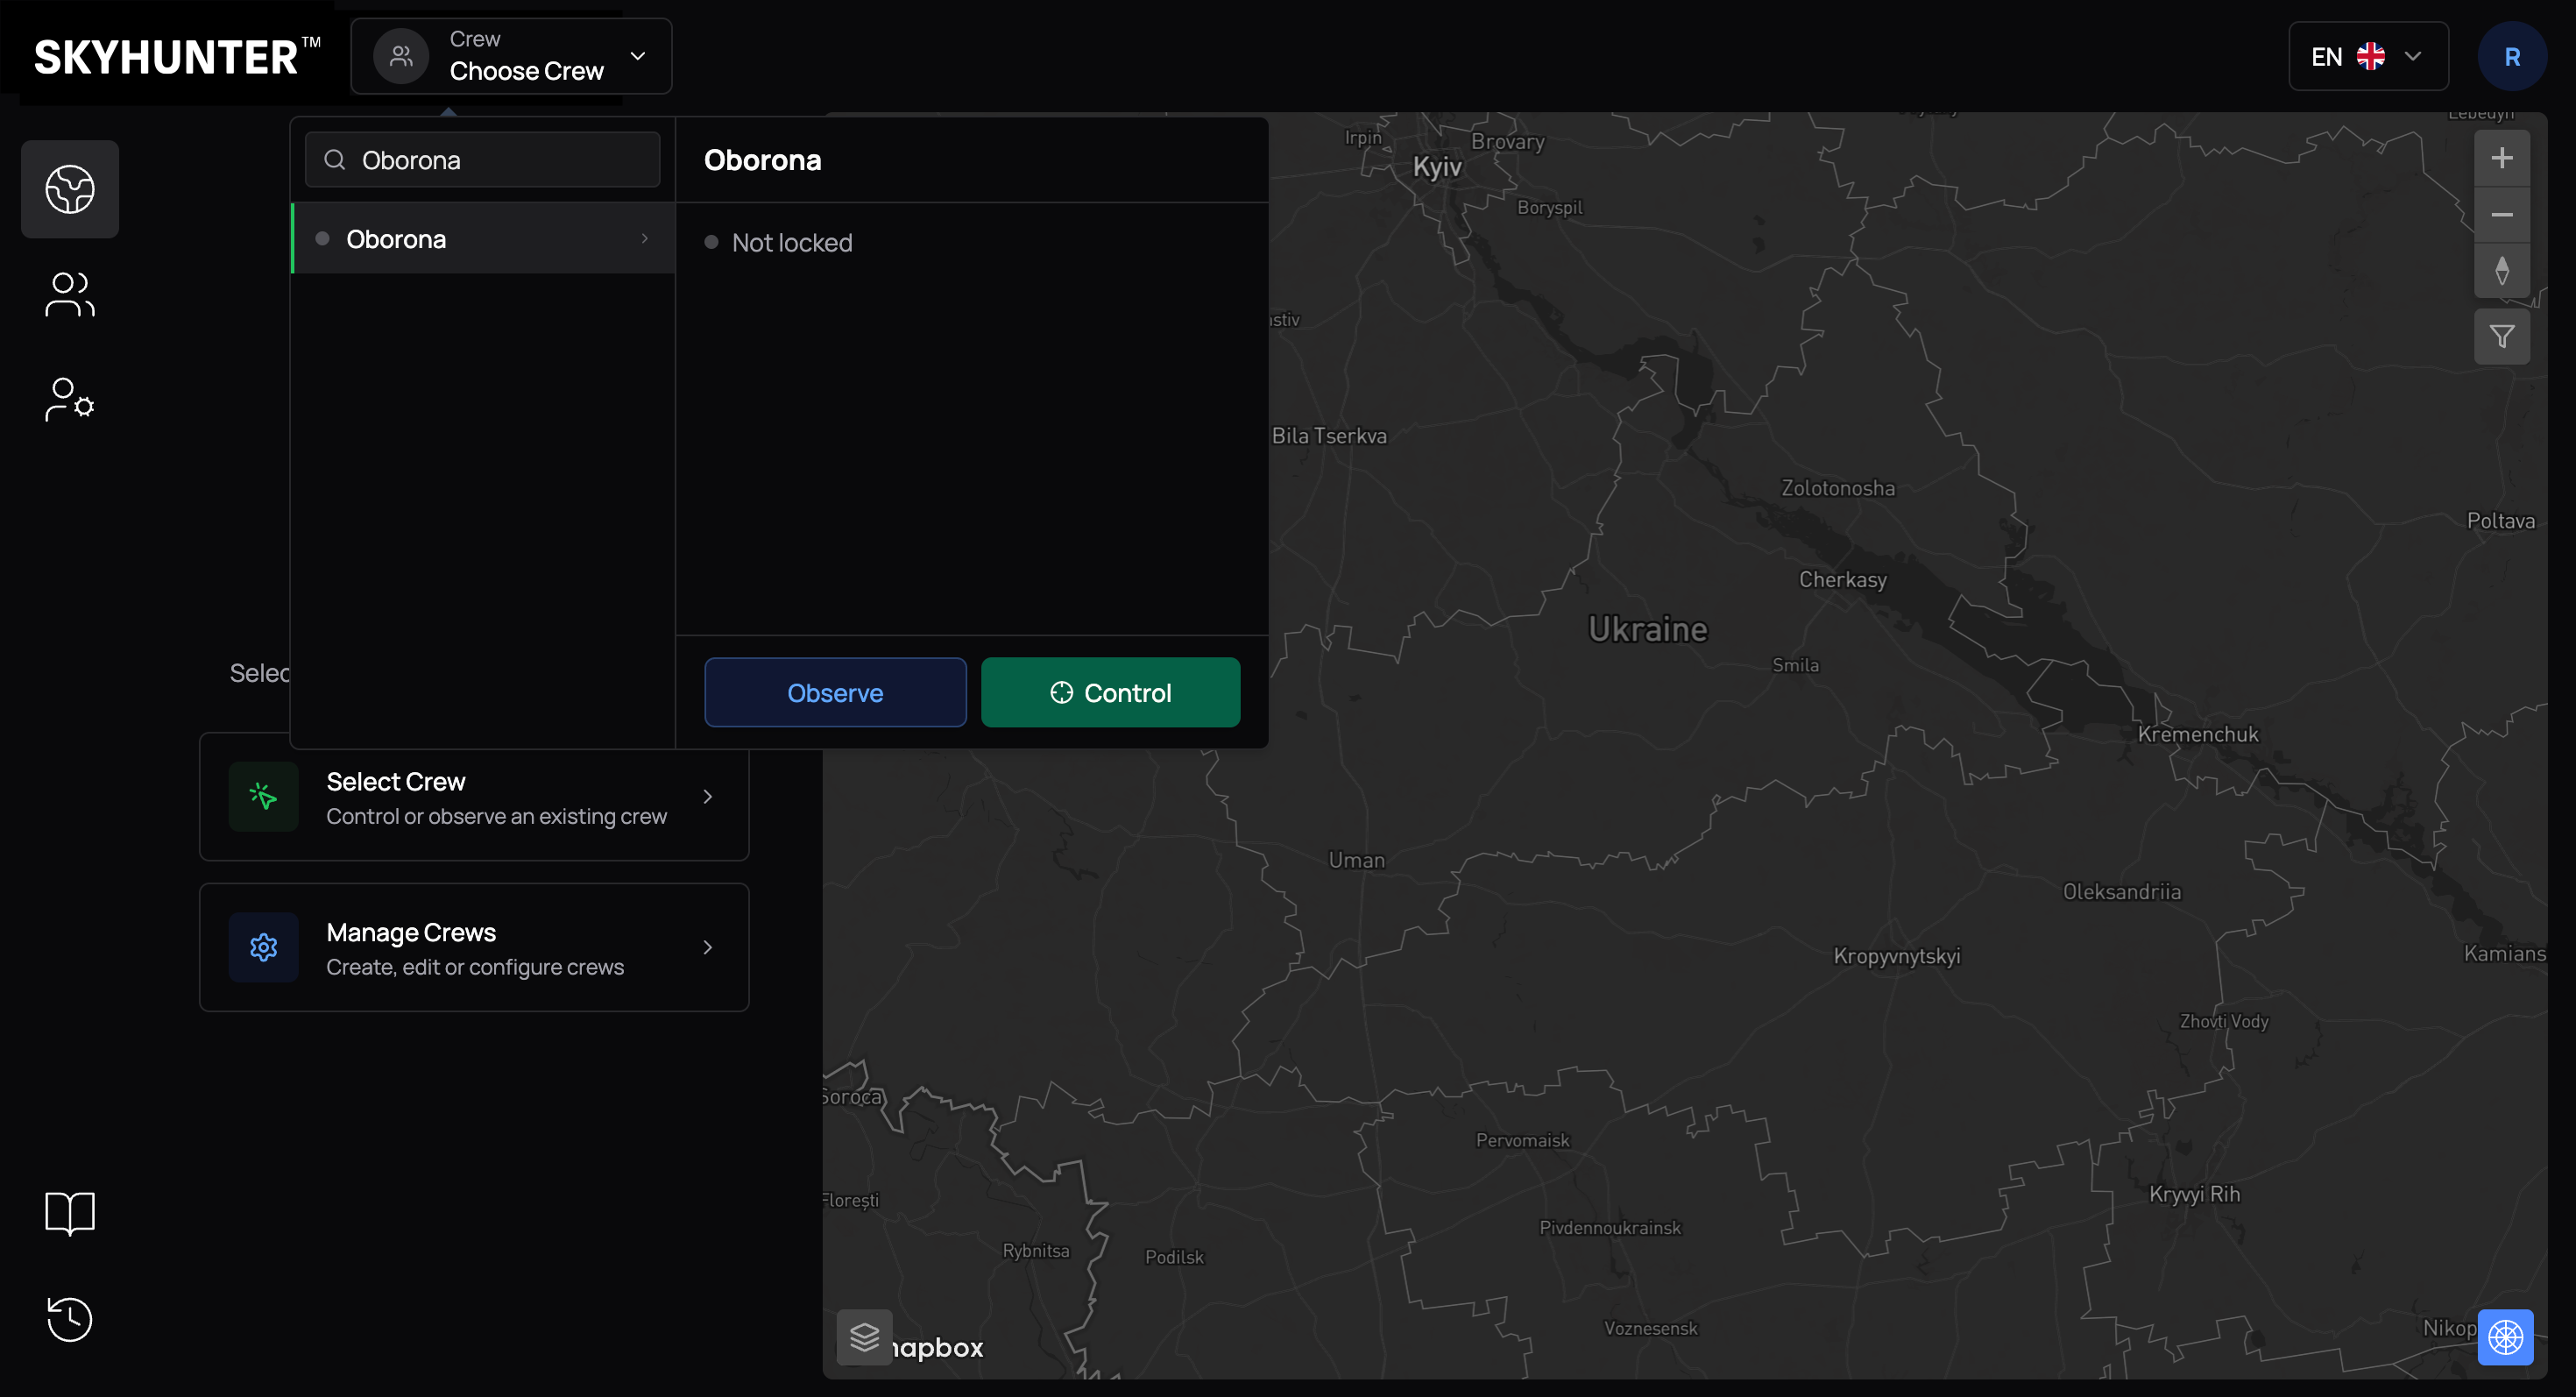
Click Choose Crew — the list of crews will open. For each crew, the name is displayed and, if necessary, lock information: who is currently controlling this crew. If the crew is occupied, the Observe button is available (observer mode).
For an available crew, the Control button is available, which locks the crew to the current user. Select the required crew from the list and click Control.
After successfully joining, a green lock icon and the text “You are in ...” will appear at the top of the screen. The left panel shows the UAVs and Targets blocks, which are initially empty (if no UAVs have yet been connected to the crew and there are no targets).
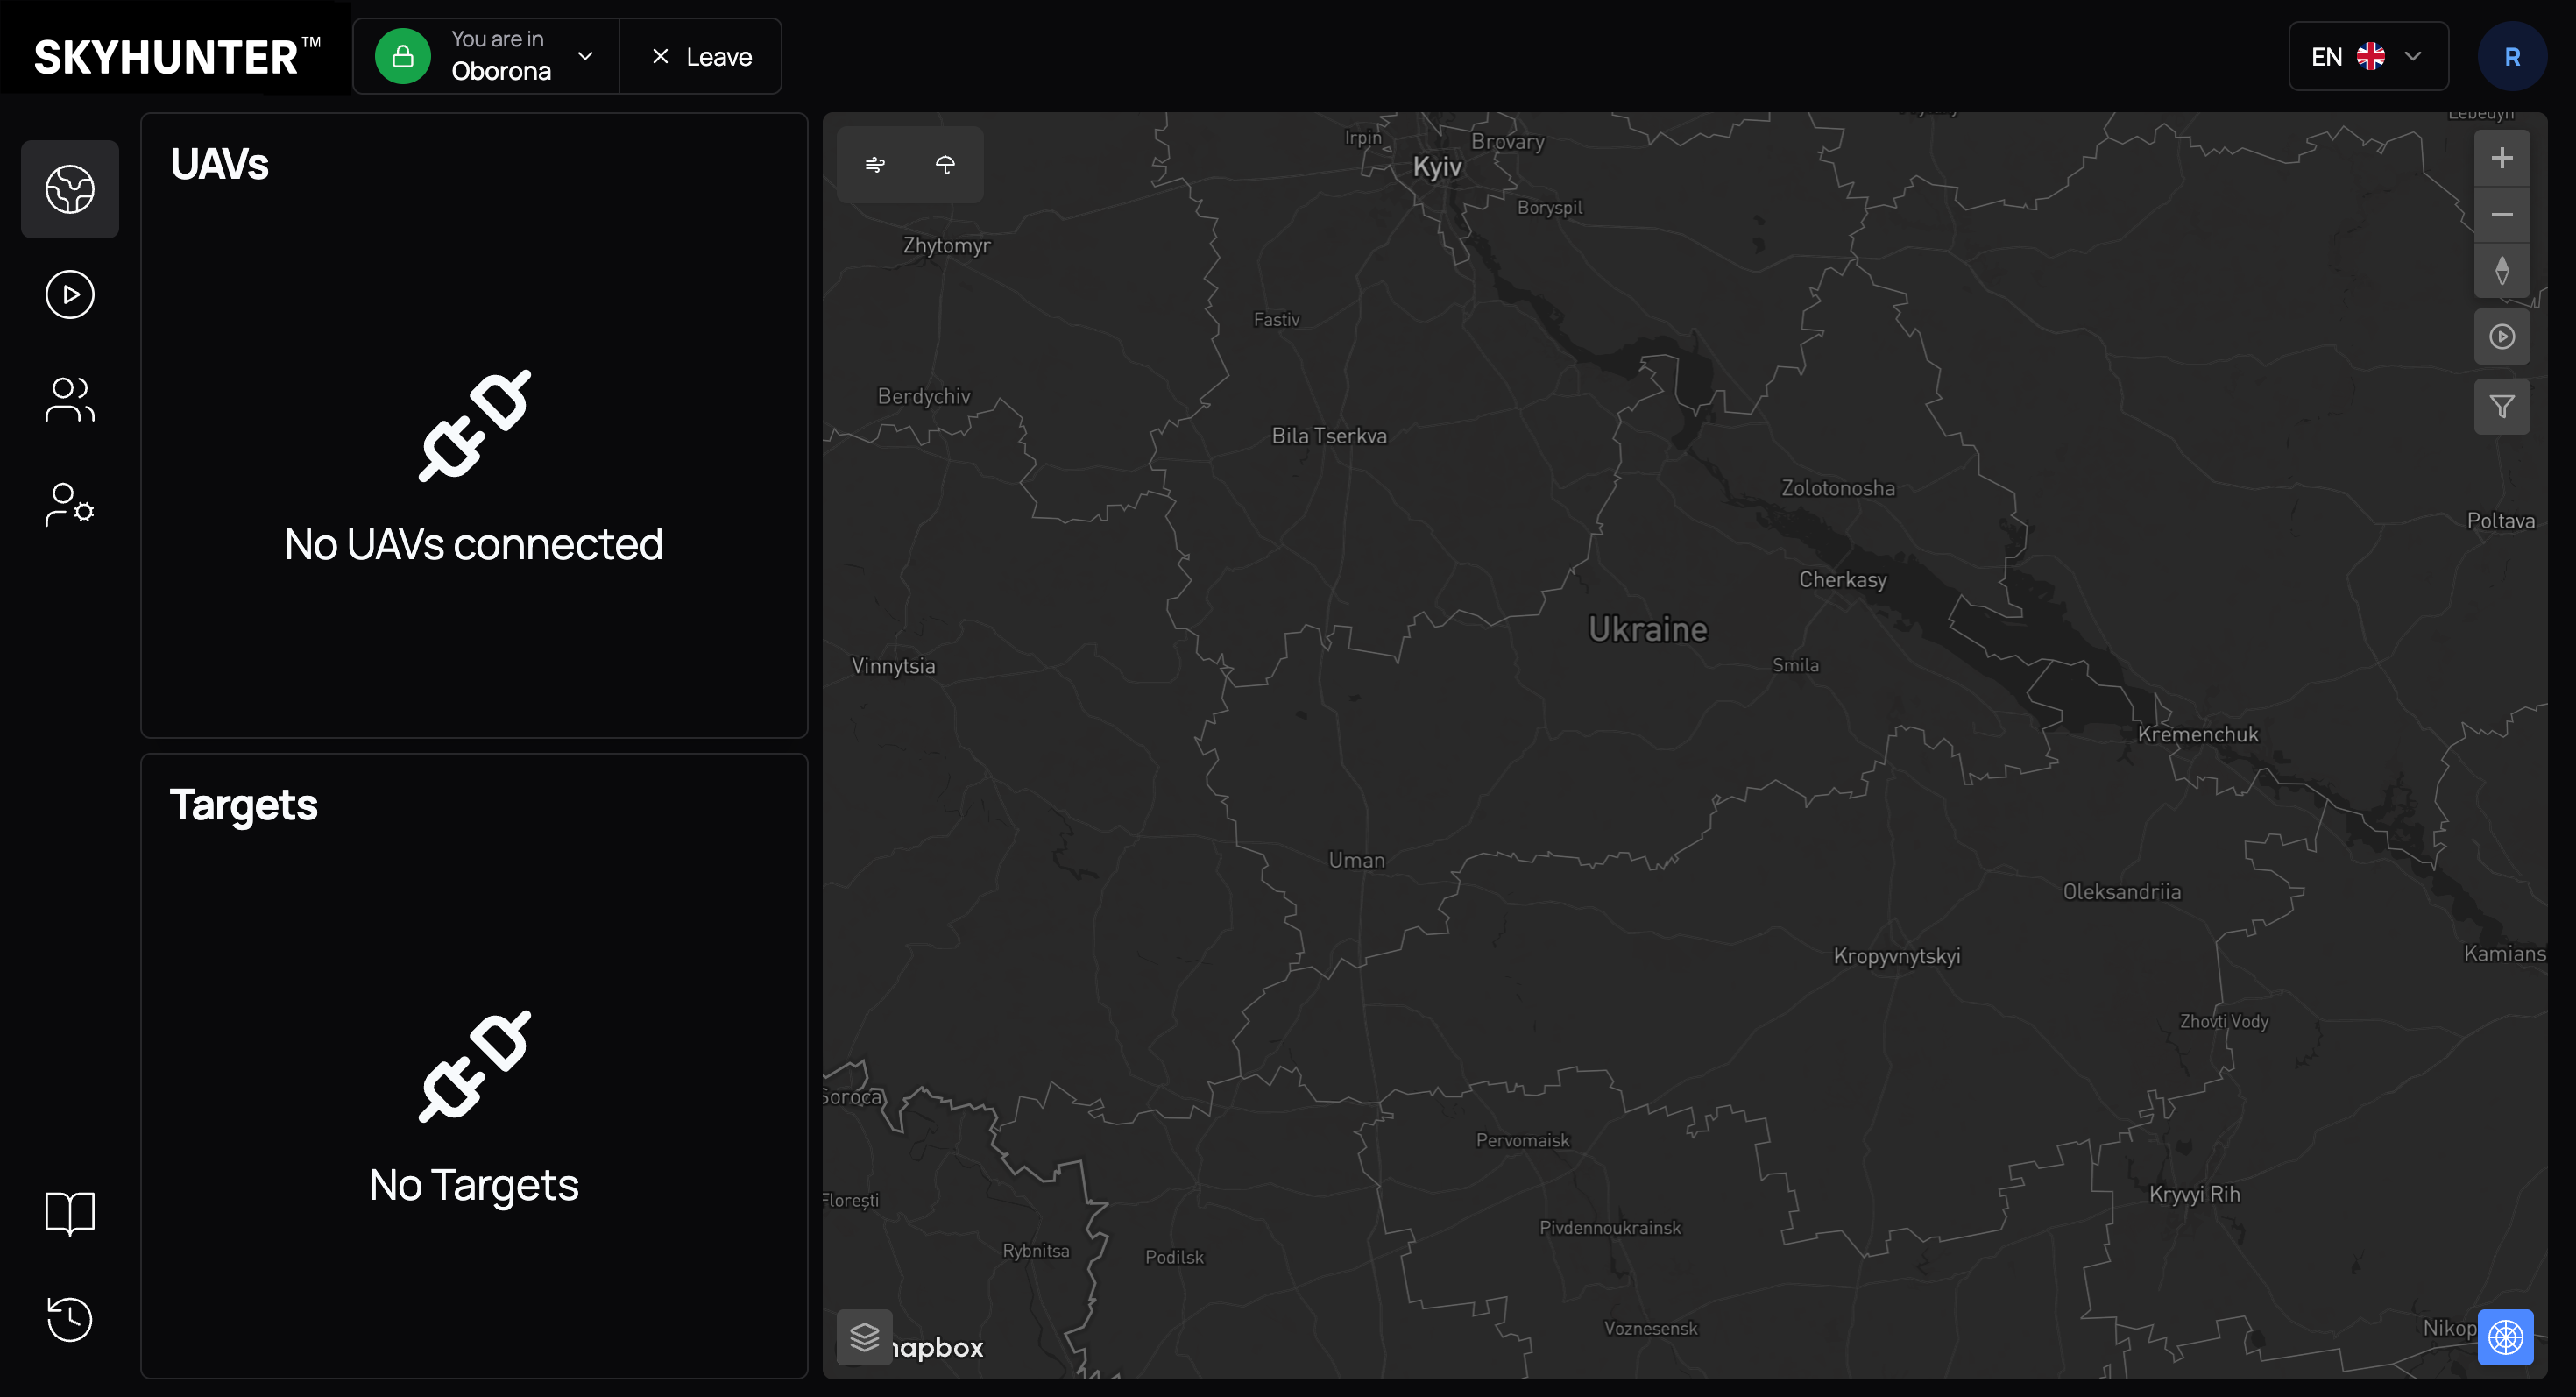
After a crew is selected, it becomes active, and all subsequent actions (monitoring, UAV control, working with targets, logging) are performed within this crew.
Replays
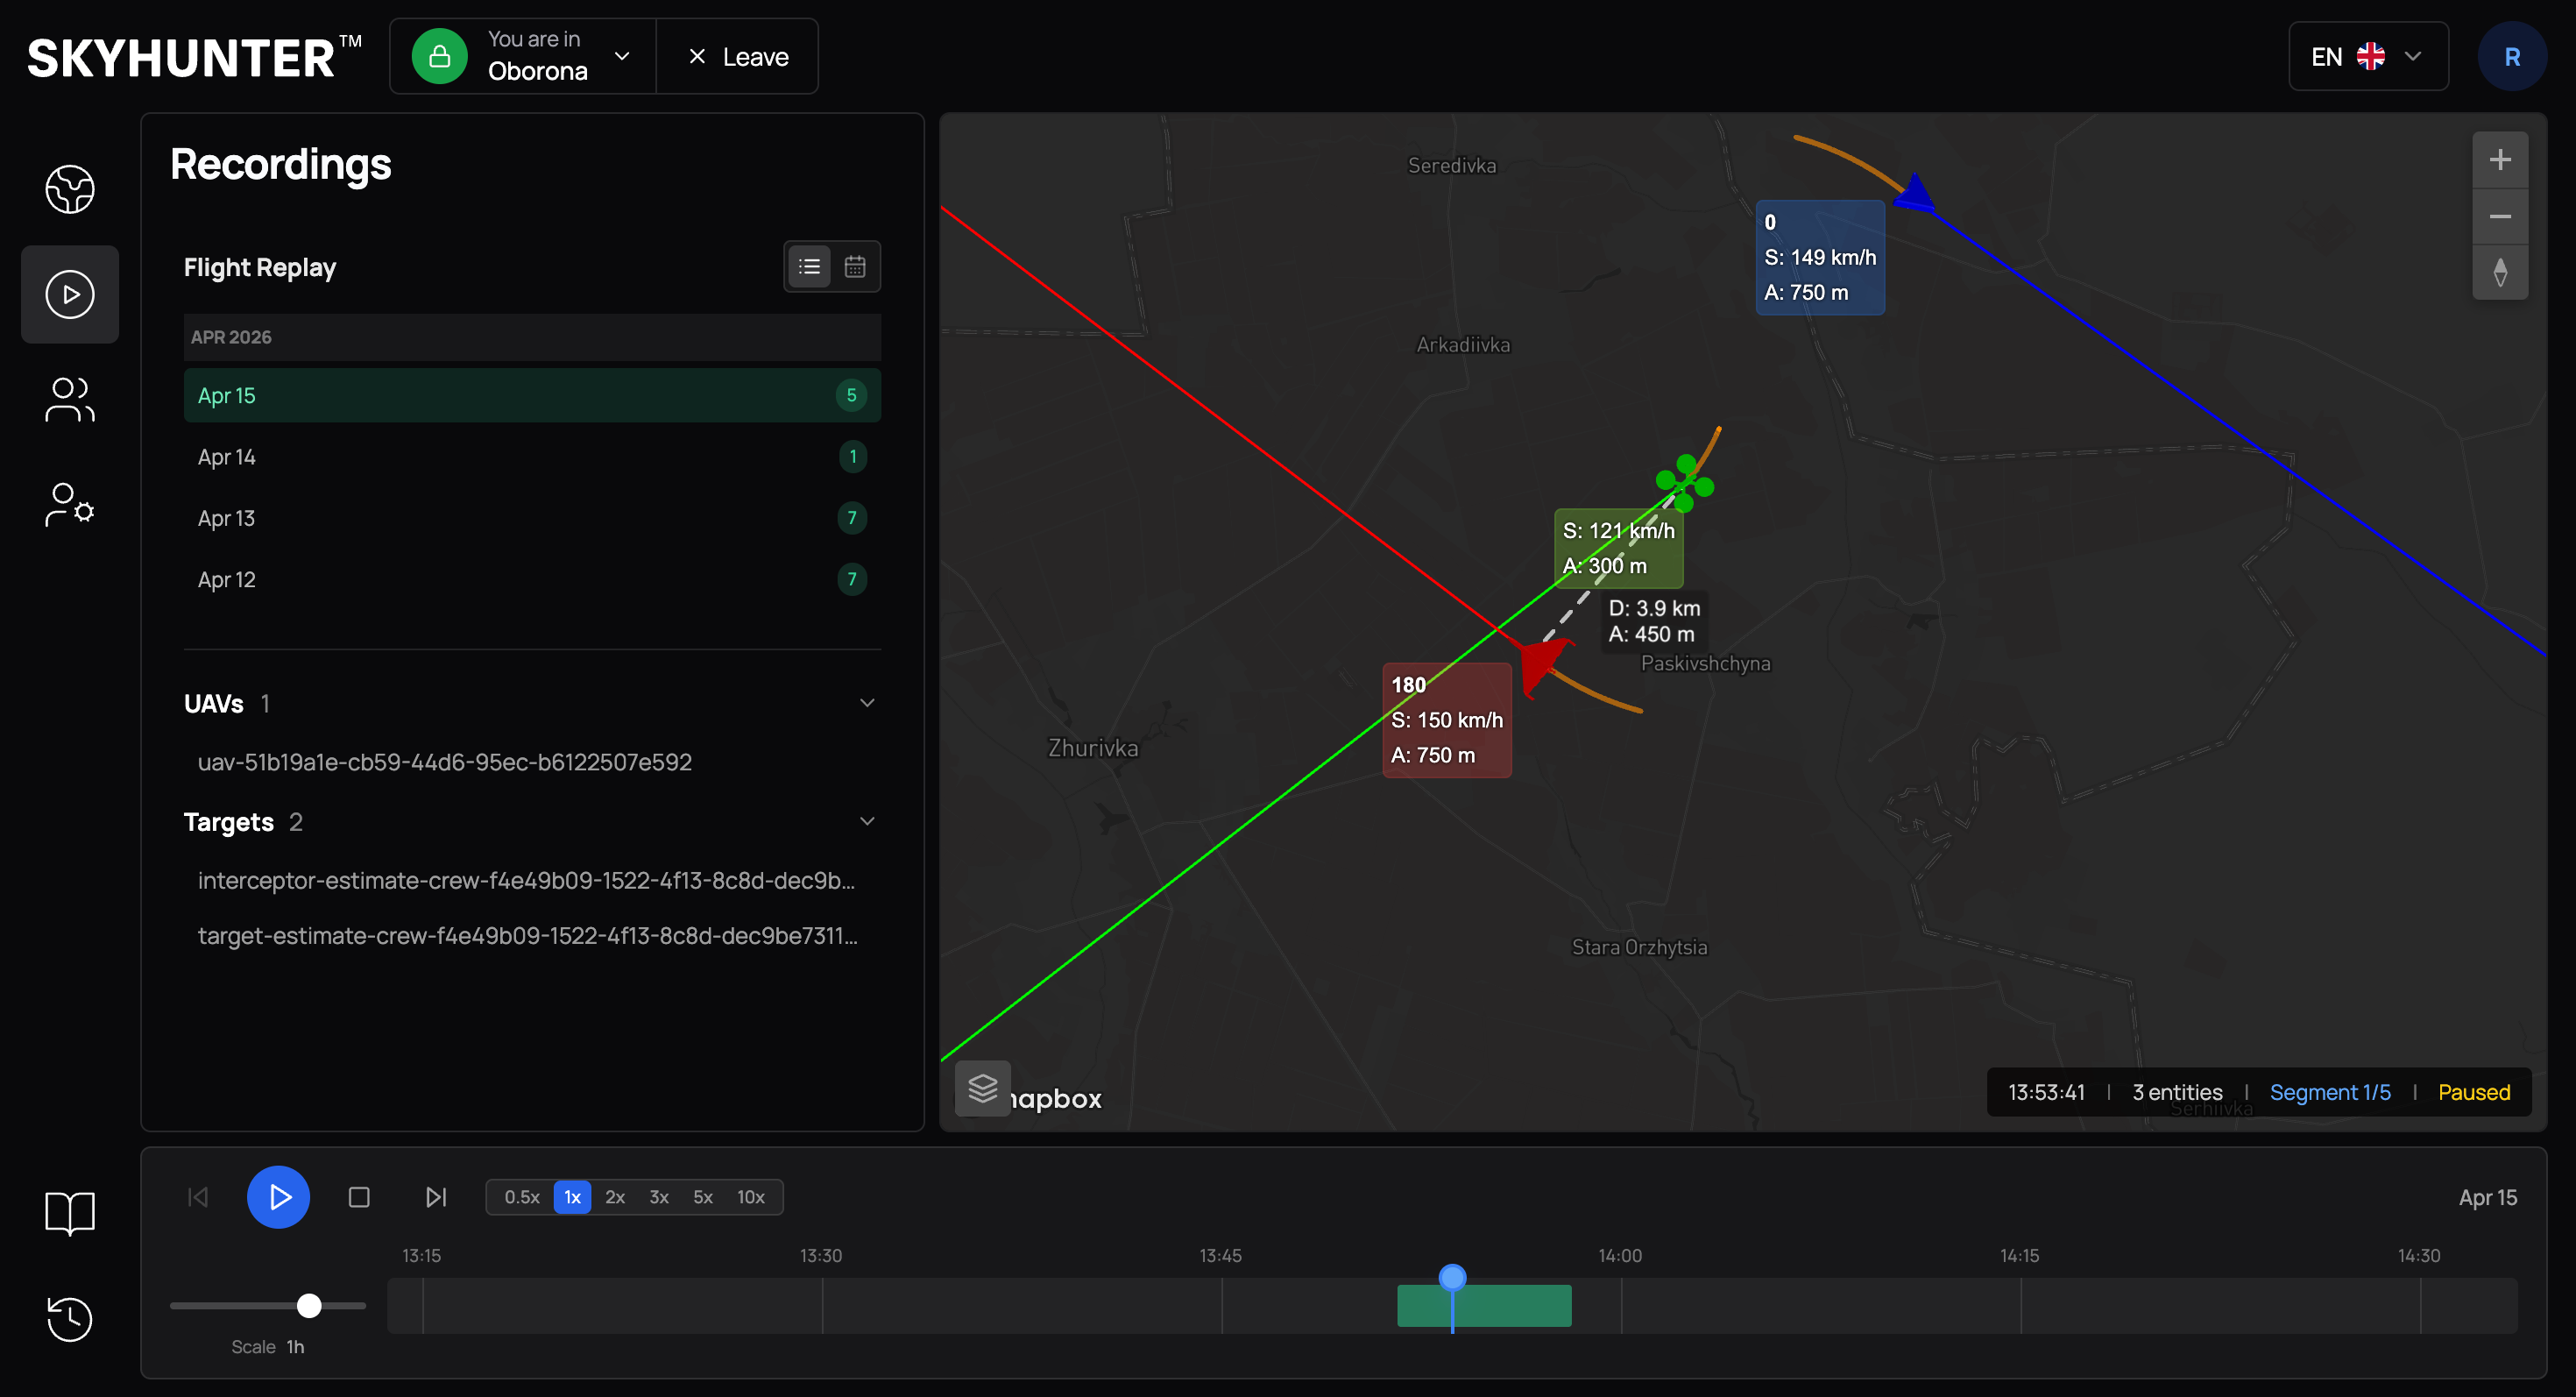
The Replays section is предназначен for viewing recorded crew flights.
It allows analyzing UAV actions, reconstructing mission flow, and conducting post-flight debriefing.
Key Replay Capabilities
- replay UAV flight paths
- view telemetry data over time
- analyze UAV behavior during the mission
- track interaction with targets and tracks
- identify navigation or control errors
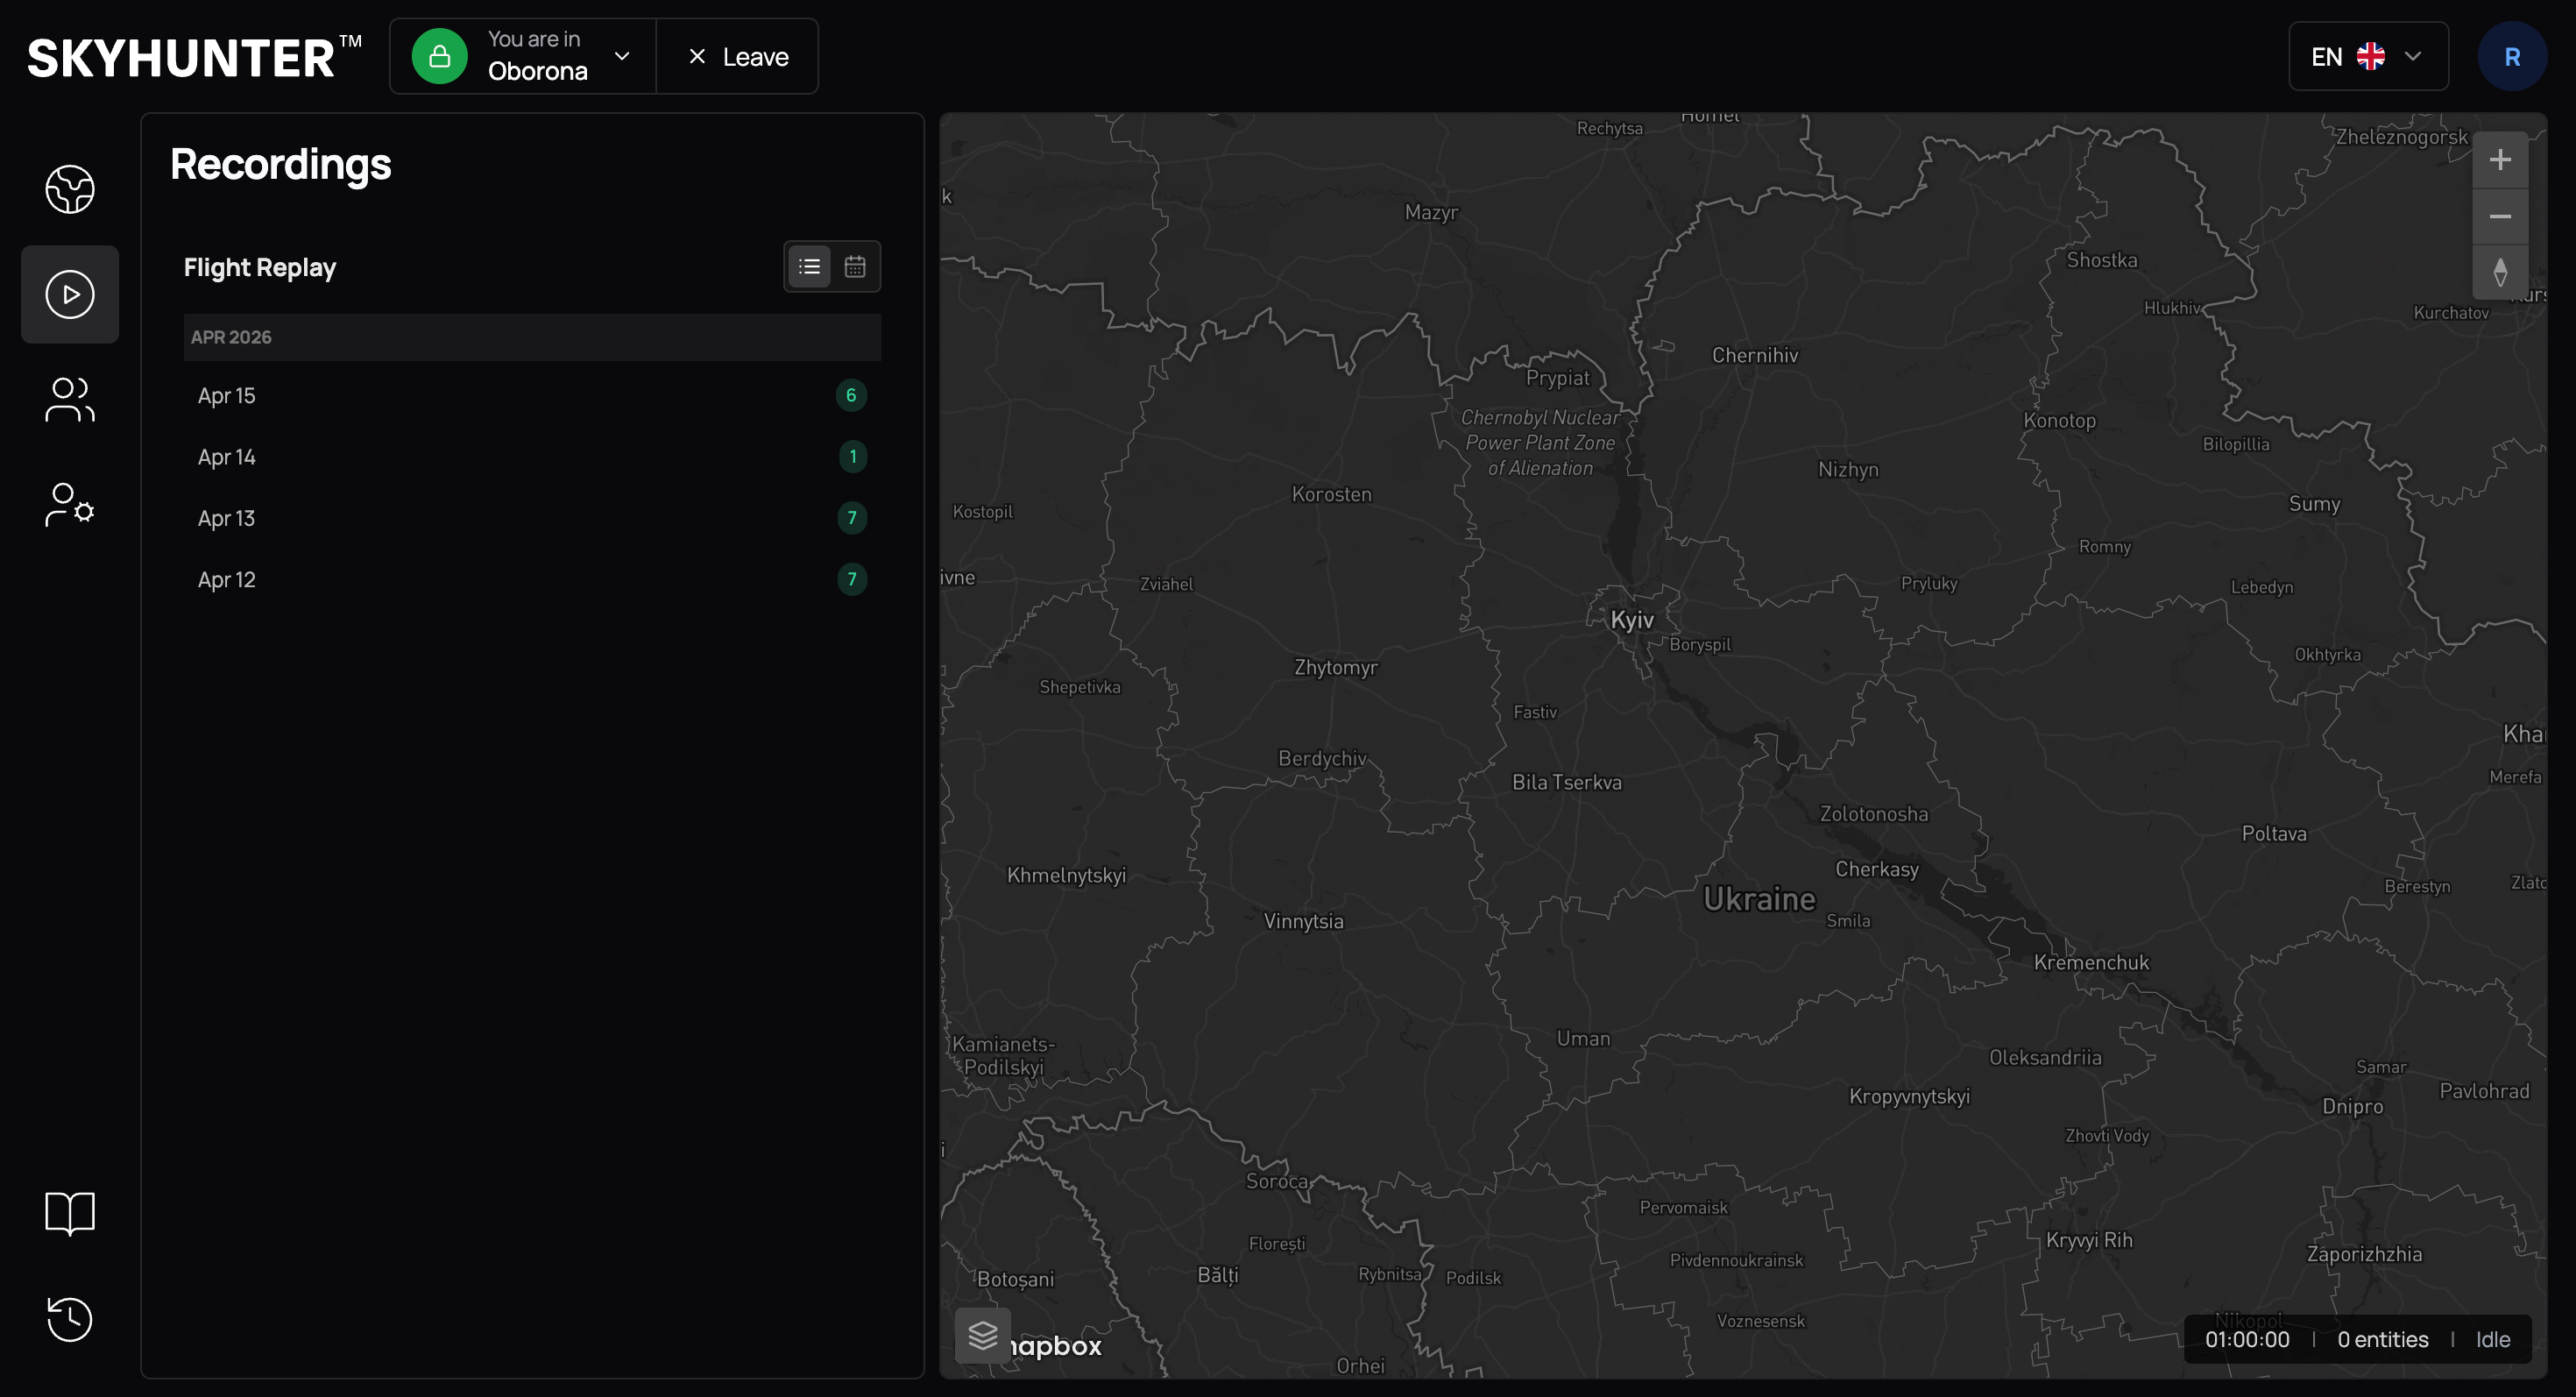
Accessing Replays
To open replays:
- Select a crew and go to the Home tab
- In the Replays block, click View Replays
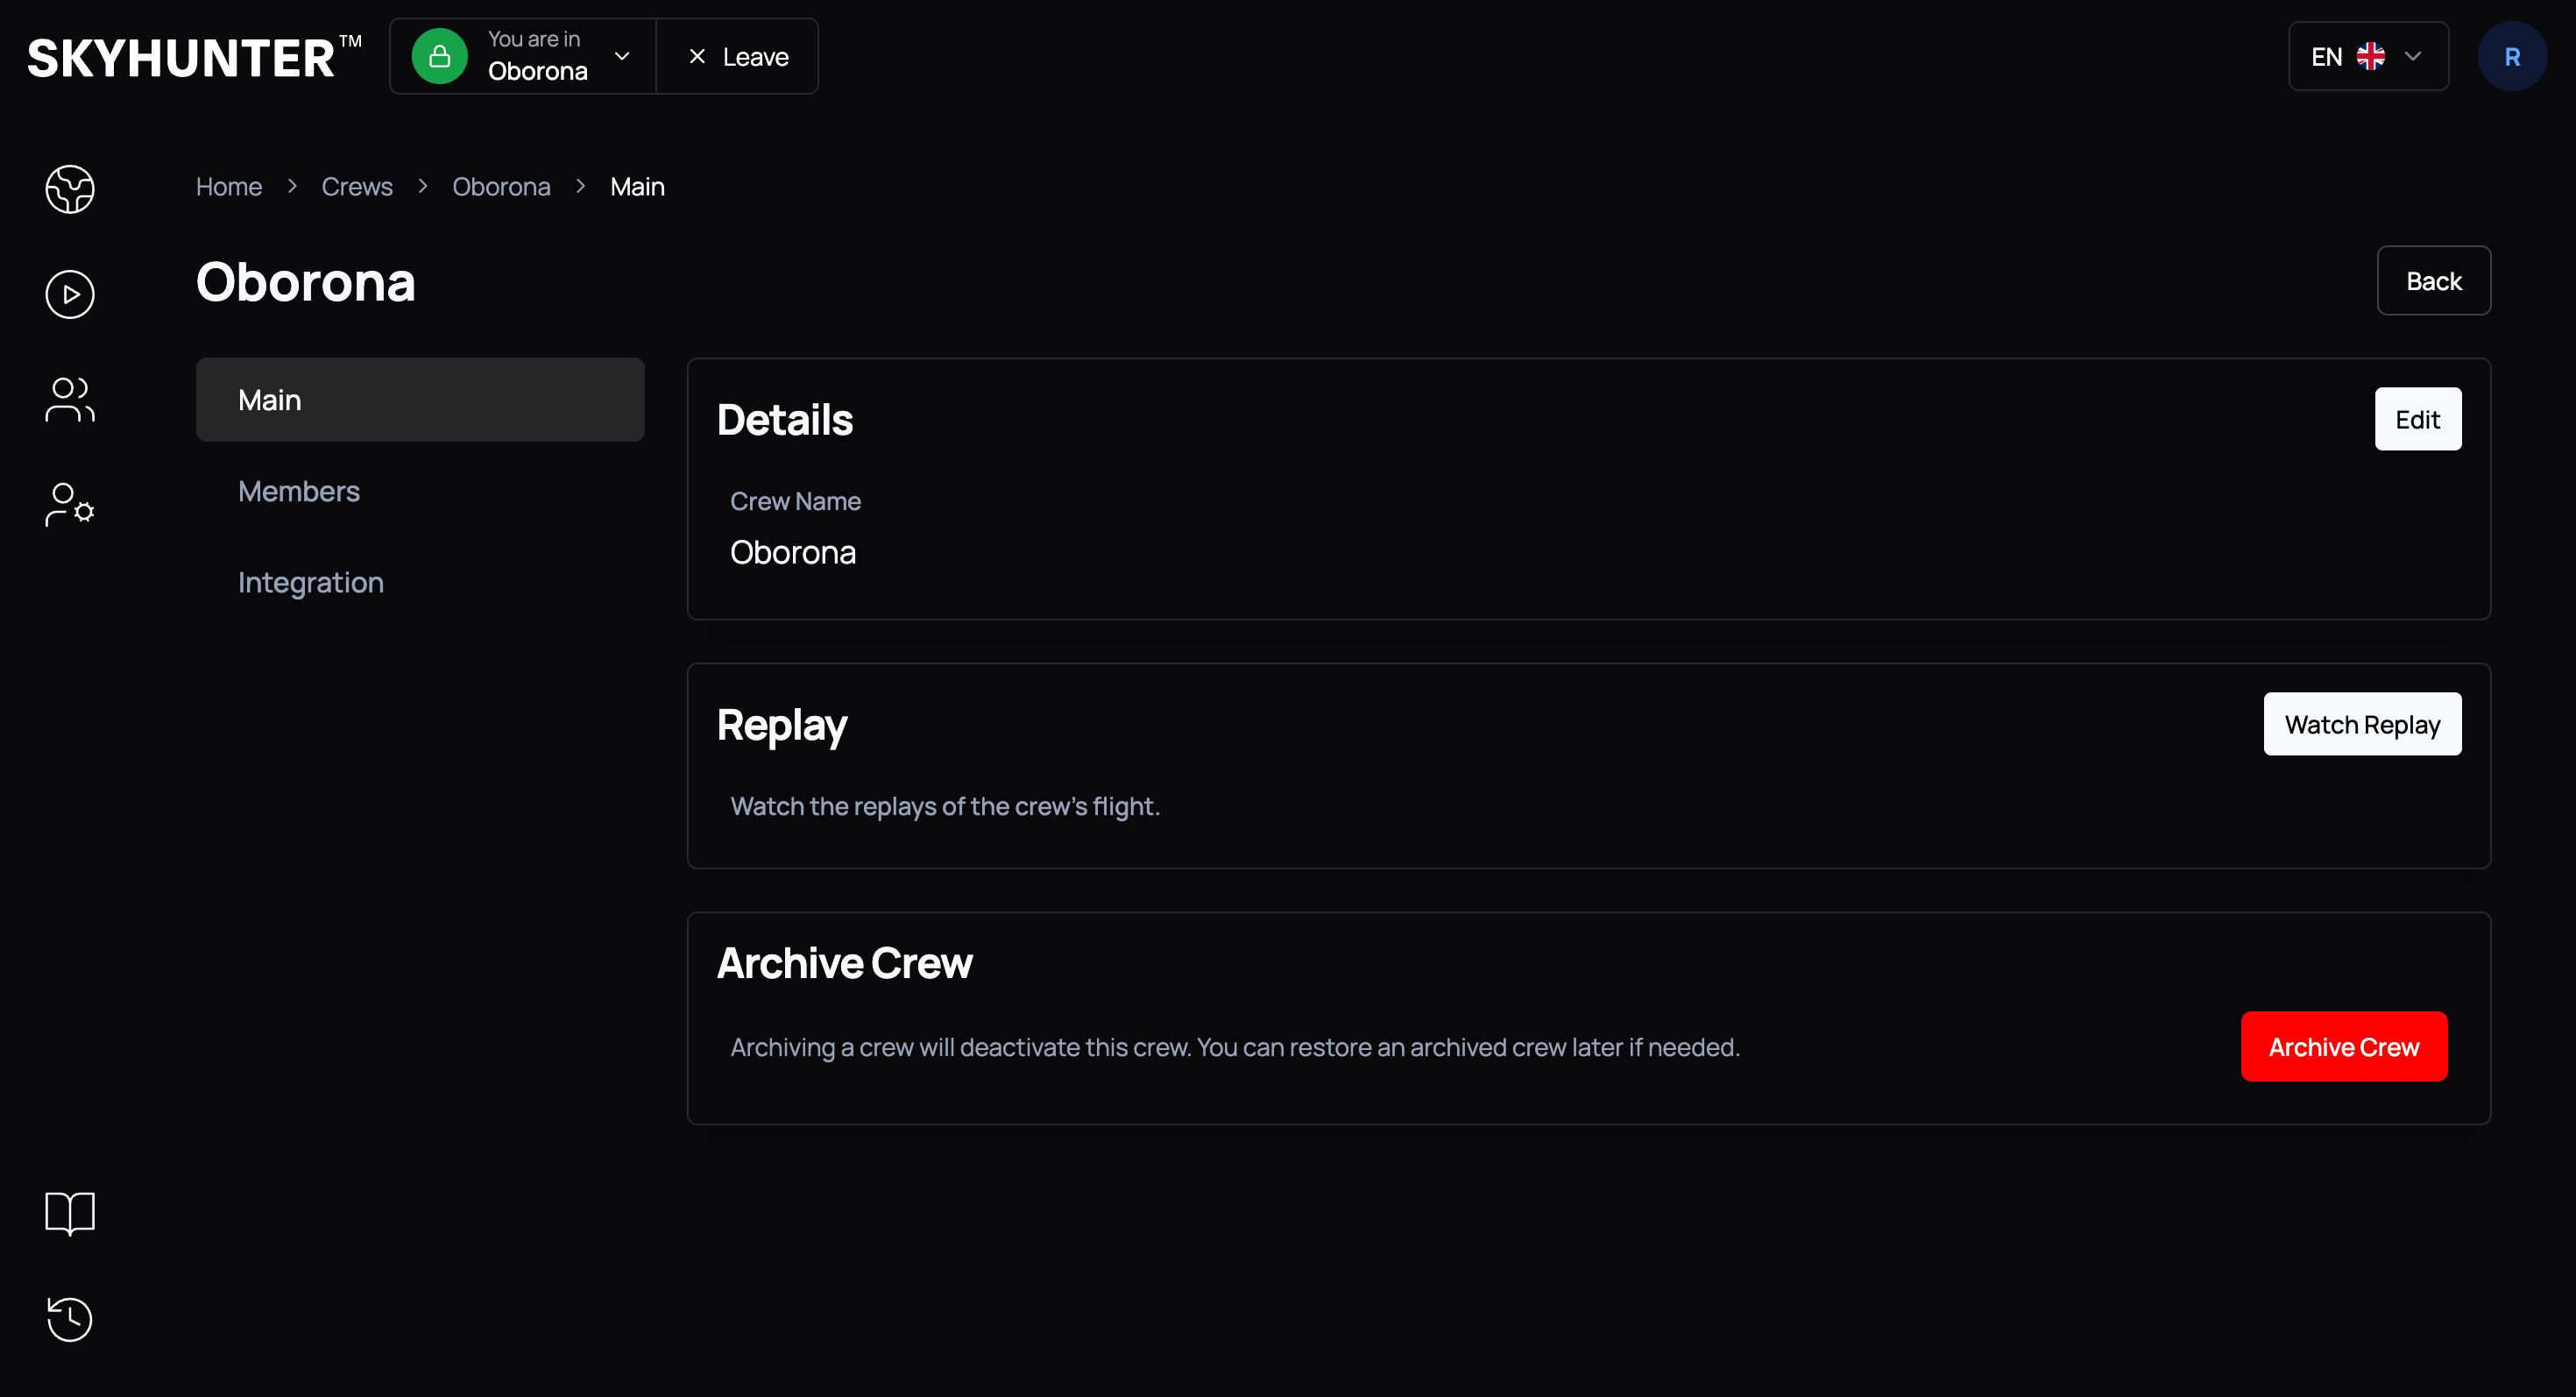
- A list of available flight records will open — select the one you need
Replay Structure
Each replay includes:
- flight timeline
- UAV route
- target routes
- position at each moment in time
- mission events (if available)
Replay Controls
During playback, the following actions are available:
- play
- pause
- fast forward
- rewind
- stop
The operator can review the flight at any point in time.
Replay Usage
1. Mission Analysis:
- evaluate mission effectiveness
- verify navigation accuracy
- analyze decision-making
2. Issue Detection:
- telemetry failures
- inertial navigation errors
- control issues
3. Operator Training:
- review completed missions
- demonstrate correct scenarios
- learn from mistakes